
Last updated November 17, 2026






Free written scope consultation - allowances, timeline, and change-order rules on paper before a single trade is scheduled
Seasonal Construction Care for Cutler Bay: Year-Round Homeowner’s Guide
The dry season in Cutler Bay isn’t low-risk. It’s when wood frames contract, caulk pulls away from seams, and the hairline cracks that let hurricane-season water in are actually created. Most homeowners here treat November through May as a rest period and save every inspection for the weeks before a storm watch. That’s backwards. Cutler Bay runs on two seasons rather than four, and each one stresses a different layer of the house in a pattern you can predict. This guide maps that pattern month by month, from the driveway to the ridge line, so you’re inspecting ahead of damage instead of reacting to it.
Quick Answer
Seasonal construction care in Cutler Bay follows a two-season cycle: the dry months (November through May) are when you inspect, seal, and repair, because contraction opens gaps that are easy to close while the weather holds; the wet months (June through October) are when you monitor, drain, and document, because UV, rain, and wind load test everything you sealed. The single most useful habit is a fixed inspection sequence that moves from the ground up, every season, before problems compound.
Styles & brands we work with
- Kitchen remodeling
- Bathroom remodeling
- Home additions & ADU
- Roofing
- Windows & doors
- Driveway & pavers
- Fence
Table of Contents
- Why Cutler Bay Has Two Seasons, Not Four
- The Month-by-Month Maintenance Map
- How South Florida UV Changes the Maintenance Timeline
- The Pre-Hurricane-Season Checklist for Cutler Bay Homes
- Post-Storm Inspection: What to Check First
- What You Can Check Yourself vs. When to Call a Professional
- The Exterior Layers: Pavers, Fencing, Roofing
- The Interior Layers: Kitchen, Bath, and Additions
Why Cutler Bay Has Two Seasons, Not Four
Most national maintenance calendars assume a freeze cycle: pipes that can burst, ice that backs up under shingles, ground that heaves. None of that applies here. Cutler Bay’s year splits into a wet season from roughly June through October and a dry season from November through May, and the damage mechanisms are completely different from what a northern guide describes. Instead of freeze-thaw, you’re managing solar load, rain volume, and wind.
The dry season is a contraction season. Wood framing, trim, and fence boards lose moisture and pull back. Caulk and sealant shrink against the surfaces they’re bonded to. A gap that looks like a quarter-inch in February can be the entry point for water in August. That’s why we treat the dry months as the repair window, not the off-season. The materials are stable, the rain isn’t fighting you, and any seal you apply has weeks to cure before the first real soaking.
The wet season is a test season. Sun bakes the exterior through the morning and afternoon thunderstorms hit in the heat of the day, which is exactly the cycle that ages sealants and finishes fastest. Roof underlayment, window gaskets, fence post footings, and driveway slope all get stressed by the same pattern: intense UV, then a rapid soak, then drying heat.
Understanding which season you’re in tells you what to inspect. In the dry season you’re looking for gaps. In the wet season you’re looking for where water is actually going.
The Month-by-Month Maintenance Map
This is the calendar we’d hand a Cutler Bay homeowner who wants to stay ahead of the two-season cycle. It’s organized around the dry season as the work window and the wet season as the monitoring window.
Dry Season (November through May)
- November: Walk the exterior perimeter and note every caulk joint, window seal, and trim gap that opened over the summer. This is the first month contraction becomes visible, so it’s the best time to map it before you start sealing.
- December: Inspect the roof after the rainy season, before the dry months dry out any active leak evidence. Check flashing, ridge caps, and the sealant around roof penetrations.
- January: Check fence posts for movement. Post footings that took on water in the wet season show up as wobble or lean once the ground dries. This is when you catch it.
- February: Look at driveway and paver surfaces for settlement, joint sand loss, and changes in slope. If water pooled anywhere during the summer, it’ll pool in the same low spot again.
- March: Inspect window and door seals, weatherstripping, and gaskets. UV exposure peaks as the sun climbs, and gaskets that were fine in fall can be brittle by March.
- April: Deep-clean and reseal exterior wood, trim, and any painted or stained surface on the fence and fascia. Sealant applied now cures before the wet season.
- May: Pre-season walkthrough. This is the month to confirm every repair from the dry season actually took, and to schedule any professional work that needs to be done before the storms arrive.
Wet Season (June through October)
During the wet months your job changes from repairing to monitoring. Walk the house after heavy rain and look for where water is actually showing up: staining on ceilings, damp spots on interior walls near windows, standing water on the driveway, fence posts that rock in saturated soil. Note it and photograph it. You’re building a record of what the storm season is doing that you’ll repair when the weather dries. Roof leaks, window infiltration, and drainage failures all reveal themselves most clearly during this window.
The rhythm matters more than any single task on this map. A homeowner in Cutler Bay who runs the dry-season repairs and the wet-season walks has a house that stays in front of water intrusion instead of chasing it.
How South Florida UV Changes the Maintenance Timeline
National maintenance guides are written for an average UV load. Cutler Bay’s sun is well above that average for much of the year, and exterior materials age on a faster clock because of it. The practical effect is a shorter interval between reseals, a shorter service life for elastomeric caulk, and faster fading and chalking of exterior finishes than the same products deliver in cooler latitudes.
What that means for you:
- Caulk and sealant: The joint seal around windows, doors, and trim gets more UV in a Cutler Bay summer than most manufacturers’ testing models assume. Inspect annually and plan to renew sealant joints more frequently than the product label suggests.
- Roof shingles and underlayment: Asphalt shingles from GAF, CertainTeed, Owens Corning, IKO, or Atlas all carry UV ratings, but the sun exposure here will still shorten the timeline compared to a northern climate. When a roof reaches the end of its service life, the failure shows up as granule loss and then as brittleness. Look at the shingles, not just the leak inside.
- Paint and stain: Exterior paint fades and chalks faster here. A paint job that “should” last a decade in a mild climate will show its age sooner under this sun. The same applies to the stain on a wood fence.
- Plastic and vinyl components: Vinyl fence panels and plastic trim take on UV differently than painted wood. They chalk, and on lighter colors the chalking is less visible while the material is still aging.
- Window and door seals: Weatherstripping, gaskets, and glazing seals dry out and harden faster under sustained UV. This is one reason we treat window and door seal inspections as an annual task in Cutler Bay rather than a once-a-decade task.
The point isn’t to panic about the sun. It’s to adjust your inspection intervals to the local reality. A Cutler Bay house wants a walkthrough every dry season, not once every several years. That’s the difference between staying ahead of UV degradation and discovering it after a storm.
The Pre-Hurricane-Season Checklist for Cutler Bay Homes
Hurricane season here runs from June through November, and the meaningful prep happens in the dry months, not the week of a storm watch. A roof anchoring inspection, a window seal check, a fence post depth confirmation, and a driveway drainage slope check are all work you want done while the weather is stable and a contractor can actually get to it. Anyone who has tried to schedule roof work the week of a named storm knows the difference.
The four-layer checklist
- Roof anchoring: A roofing inspection before the season should cover how the roof is fastened, the condition of the decking underneath, the sealant around every penetration, and the flashings. This is not a job a homeowner can do safely from a ladder. Trained professional work is the right answer here, and the correct prep is to have the roof inspected before the season rather than patched after the first leak.
- Impact window and door seals: Check the seals, gaskets, and mounting of every impact-rated opening. Impact products from PGT, CGI, and ES Windows are engineered for the wind load here, but the seal is only as good as its condition. A gasket that’s hardened under UV is the weak point, not the glass.
- Fence post depth: Fence posts set shallow, or set in soil that has softened over the wet season, are the first part of a fence to fail in a storm. Post depth is set at installation, but an inspection before the season confirms posts are still plumb and the footings are still secure. If you’re planning a new fence, the material choice matters: aluminum from Ameristar and Jerith and steel options from Master Halco hold up differently than vinyl in a wind event.
- Driveway drainage slope: Water should move away from the house, not toward it. A driveway that slopes toward the garage or a patio that ponds at the door is a pre-storm problem because it’s a post-storm water intrusion problem. Inspect the slope and confirm the driveway drains before the season.
Post-Storm Inspection: What to Check First
After a storm, the damage that matters most isn’t always the damage that’s most obvious. The ranked priority is: anything that is currently letting water in, then anything that will let water in within the next 72 hours, then everything else. Water intrusion causes secondary damage fast: soaked drywall, mold behind cabinets, rot in a window frame, and settled soil under a fence post all get worse the longer they sit.
Here’s the order we’d walk:
- Roof and ceiling first. Look for interior water stains on ceilings and along the top of walls. A small leak that reached the ceiling during the storm is already a problem. The longer water sits, the further it travels.
- Windows and doors second. Check for interior dampness along frames and sills. A storm can push water past a seal even when the window held. Evidence of that shows up inside.
- Driveway and drainage third. Standing water, washed-out joint sand between pavers, and new low spots are all secondary damage waiting to happen. If the driveway no longer drains, the water goes to the house next time.
- Fence and perimeter fourth. Posts that are leaning or loose after the storm will continue to fail as the ground dries. Damaged sections should be secured or repaired before they fall away from the run and take more with them.
- Exterior trim and fascia last. Look for any caulk joint that opened, and any trim that shifted or lifted.
The point of the ranking is the 72-hour window. Anything actively letting water in, or about to, wants attention in the first few days. Anything purely cosmetic can wait until the dry season. If you’re unsure which category a piece of damage falls into, that’s the right moment to get a professional inspection rather than guess.
What You Can Check Yourself vs. When to Call a Professional
The useful split is between checking and fixing. A homeowner can inspect almost everything safely from the ground. The fixing splits by risk: high-work tasks, high-voltage tasks, and anything that requires an assessment of structural integrity belong with a trained professional.
Homeowner self-check, ground level
- Walk the perimeter after rain and photograph where water is showing up.
- Look at caulk joints around windows, doors, and trim for gaps or cracking.
- Check fence posts for wobble by hand. If they’re loose, that’s a professional call, not a self-fix.
- Inspect the driveway for ponding, joint sand loss, or settlement.
- Look at the ceiling and top of walls after a storm for water staining.
- Check weatherstripping and gaskets by feel for brittle or hardened seals.
Professional inspection territory
- Roof work. Walking a roof is a fall risk and any assessment of the anchoring or decking is a trained-professional job. Do not get on the roof yourself.
- Electrical or wiring. Any inspection that touches the panel, outlets, or wiring inside a remodel is licensed electrical work. Don’t open the panel.
- Any repair that changes structure. A window that needs reseating, a fence post that needs resetting, a roof penetration that needs reflashing, a driveway that needs re-sloping. These are installation-level tasks.
- Water intrusion that has already traveled. Once water is inside a wall, the assessment of how far it went is diagnostic work.
We’ve watched this split save homeowners real trouble. The common self-check that’s done wrong is looking at the ceiling stain and assuming the leak is directly above it. Water follows framing. The professional inspection finds where it entered, not just where it showed up.
The Exterior Layers: Pavers, Fencing, Roofing
The exterior is where the two-season cycle does its most visible work, and it’s where the maintenance sequence starts. The driveway and fence are the two layers closest to the weather and to the ground. The roof is the layer that takes the most sun. All three are inspected in the dry season and monitored in the wet season.
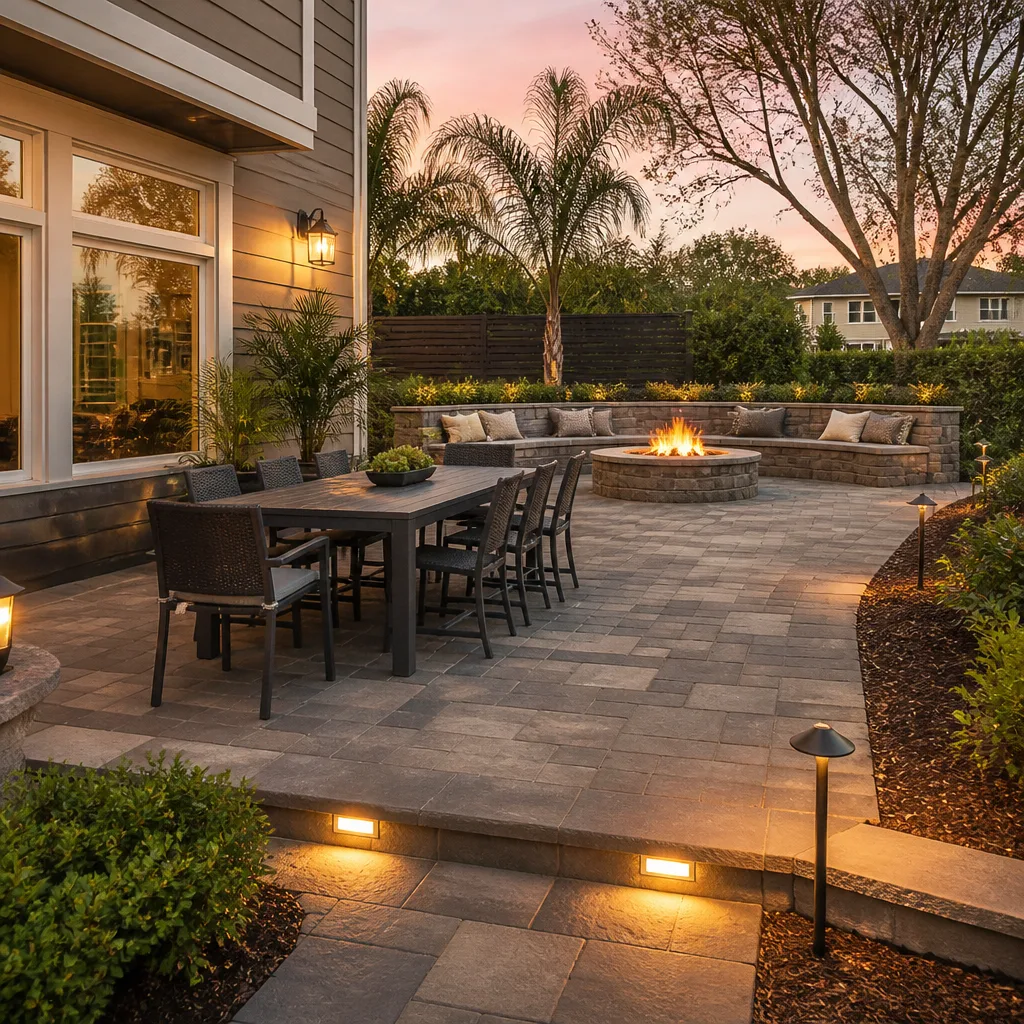
Pavers are a maintenance layer, not a permanent one. Joint sand between pavers washes out over a wet season, and once the sand is gone, the pavers shift. Inspecting the joint sand and the drainage slope each dry season keeps the driveway from becoming a low spot. If you’re planning a new one, the material and installation method matter: paver lines like Belgard, Techo-Bloc, and Tremron all have different performance when the slope is set right. When drainage matters, the slope matters more than the paver.
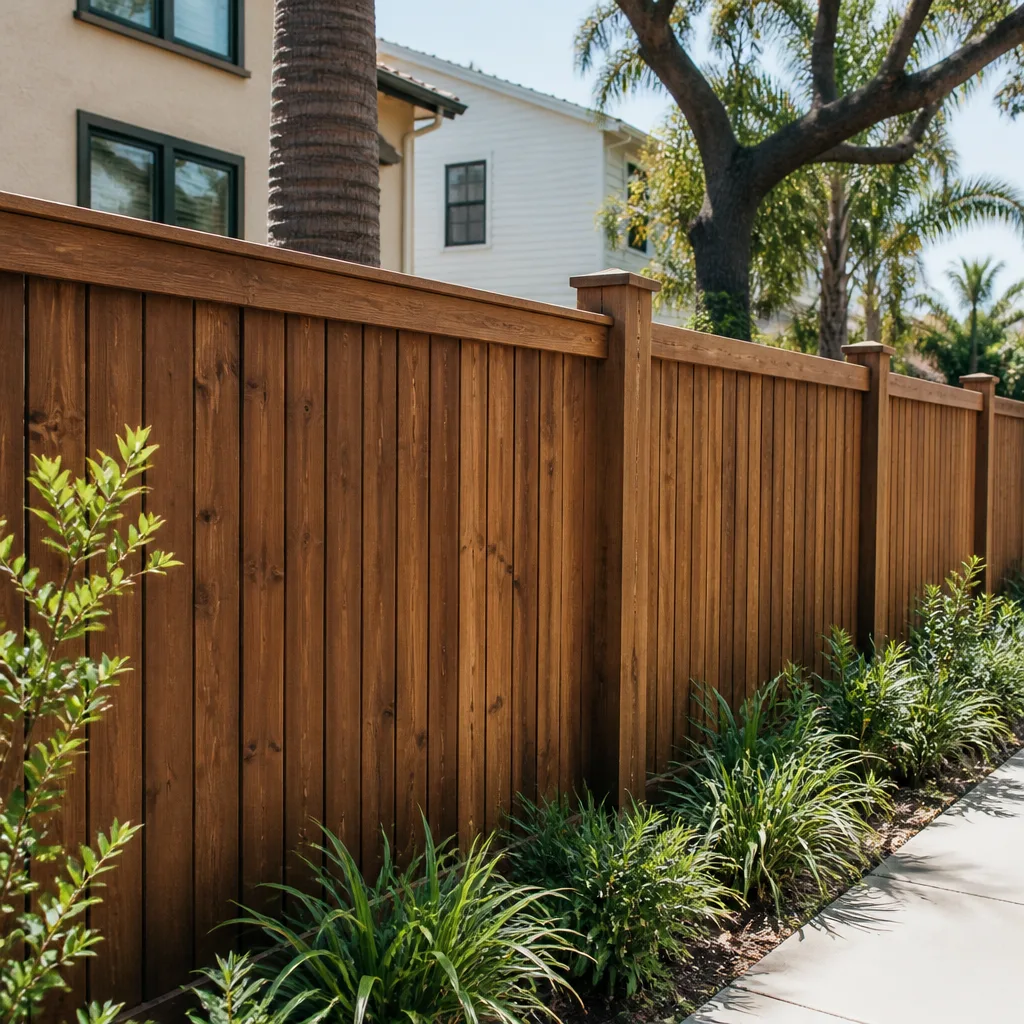
Fencing is a structural and a wind-load decision at once. Post depth and footing are set at installation, and they’re the part that fails first in a storm. A fence that’s maintenance-checked means posts are plumb, the footings are secure, and the material chosen matches the conditions. Aluminum and steel lines like Ameristar, Jerith, and Master Halco hold up differently than vinyl. If you want to talk through the material choice, we handle fence installation and can walk the property with you.
Roofing is the layer that takes the most sustained UV and the layer whose failure creates the most secondary damage. Granule loss, brittleness, and flashings are the things to look at. A dry-season inspection of the roof, including the sealant around penetrations, is the single most valuable pre-season task. If your roof is approaching the end of its service life, we work with the major shingle lines (GAF, CertainTeed, Owens Corning, IKO, Atlas) so the specification matches both the climate and the budget. If a re-roof is in the plan, ask about the sequence before the wet season starts.
All three exterior layers are a single system. A driveway that no longer drains, a fence post that’s softened the soil, and a roof that’s past its service life are all worse in combination. That’s why we inspect them together and why driveway & pavers and roofing belong in the same seasonal walk.
The Interior Layers: Kitchen, Bath, and Additions
The interior doesn’t see the direct UV or the rain, but it has its own seasonal pattern. Water intrusion that starts at a window seal or a roof shows up inside first, on the ceiling or the wall, and the interior materials are the place where the secondary damage gets expensive. The kitchen and bathroom are the two rooms where water is already present, and adding storm intrusion to plumbing moisture is the worst combination.
A few interior checks belong in the dry-season walk:
- Under-sink and behind-appliance moisture: look for staining, soft cabinet bases, or swelling in the box.
- Grout lines and caulk joints in the bathroom: cracking here is the early sign of water in the wall, and it compounds with any exterior intrusion.
- Window and door frames from the interior: any dampness along the sill after a storm means the exterior seal has failed, and the fix is exterior.
- Ceilings and the top of walls: the fastest way to catch a roof problem before it reaches the cabinet or the fixture below.
The Cutler Bay interior reality is that the Construction Cutler Bay team treats kitchen and bath work as part of the whole-house picture, not a separate trade. When a window seal fails and the bathroom wall is behind it, one company carrying both sides of the repair is what stops the two problems from doubling. The same applies to additions and ADUs. If you’re planning extra square footage, the seasonal cycle matters most before the project, so the site and the exterior are sound before you build on them. We handle both site-built additions and prefab options (including Abodu, Dvele, Mighty Buildings, and Boxabl) under home additions & ADU.
This is where the single-source scope shows up most clearly. A kitchen or bathroom remodel that runs through a handoff gets delayed at the handoff. One contractor carrying every phase is what keeps the schedule actual.
Common Mistakes to Avoid
- Treating the dry season as the off-season. The dry months are the repair window. Waiting until a storm watch to fix a caulk joint means the repair may not happen before the rain arrives.
- Ignoring the interior evidence after a storm. A ceiling stain is a signal, not a cosmetic problem. The leak may have traveled through framing rather than sitting directly above the stain.
- Assuming a national maintenance calendar applies here. Freeze-related tasks are irrelevant in Cutler Bay. UV-related ones are more urgent. Apply the local clock, not the generic one.
- Skipping the driveway slope check. Water that pools at the garage door becomes water inside the garage. Slope problems compound into structural problems over time.
- Getting on the roof yourself. This is the most common serious-injury mistake in storm prep. Trained professional inspection is the correct approach every time.
- Replacing a fence without checking post depth first. A new fence on shallow footings will fail the same way the old one did. The installation is the whole job.
- Spacing professional inspections years apart. A Cutler Bay house wants a seasonal walk, not a once-every-few-years one. The UV exposure is the reason.
See the difference
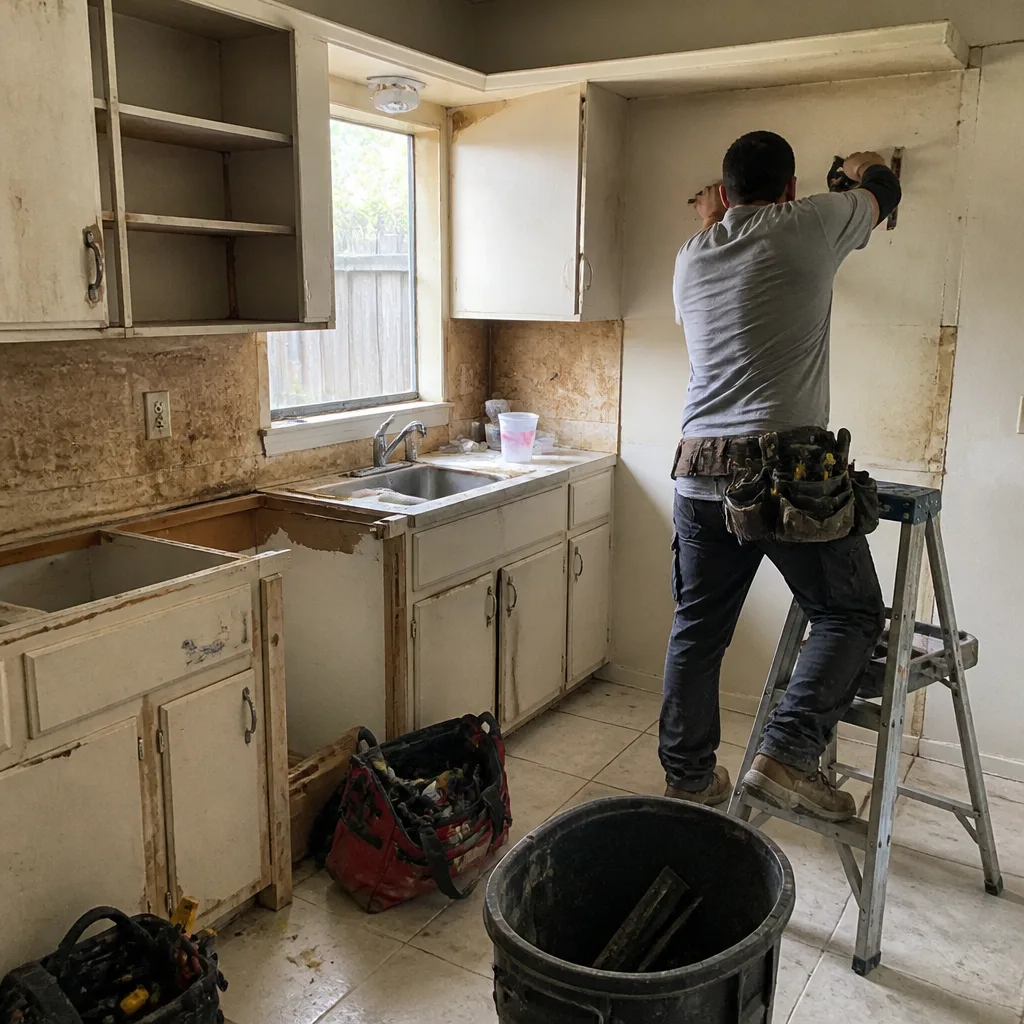 Before
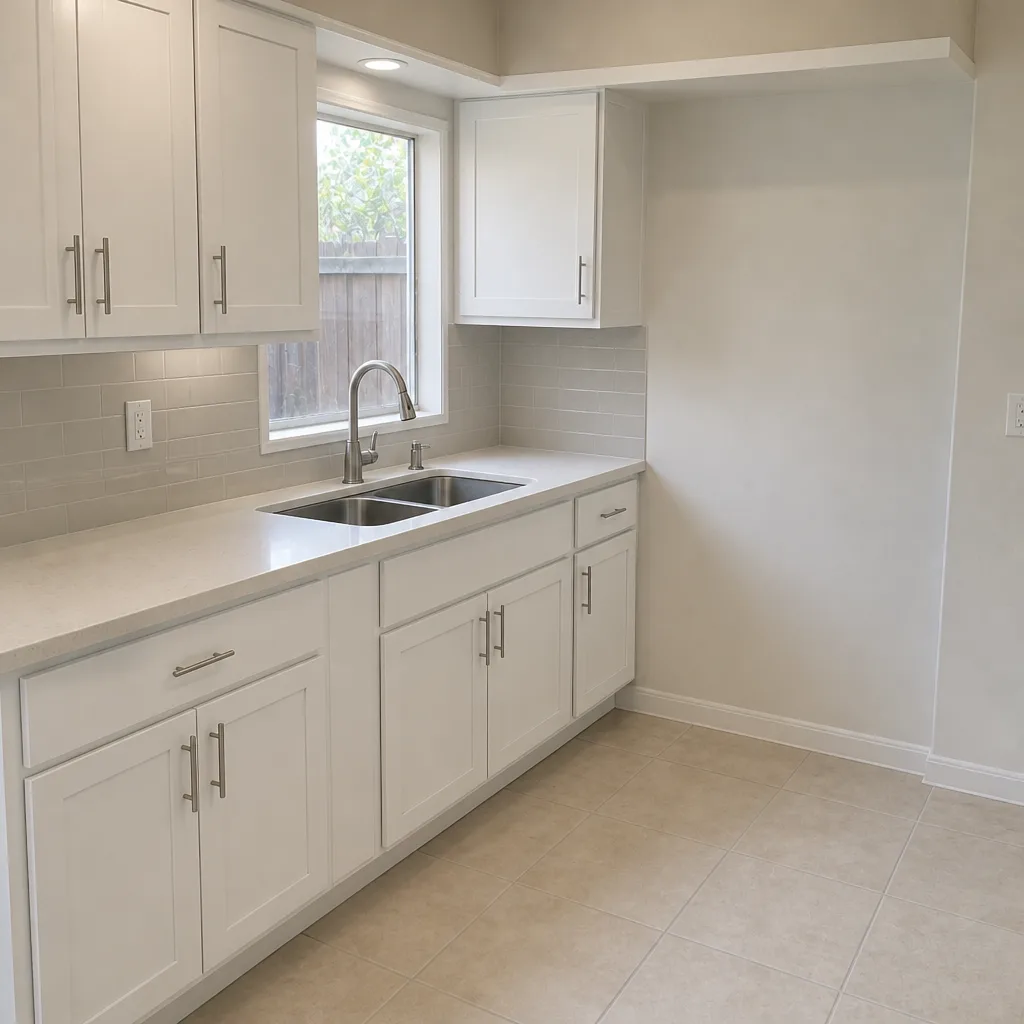 After
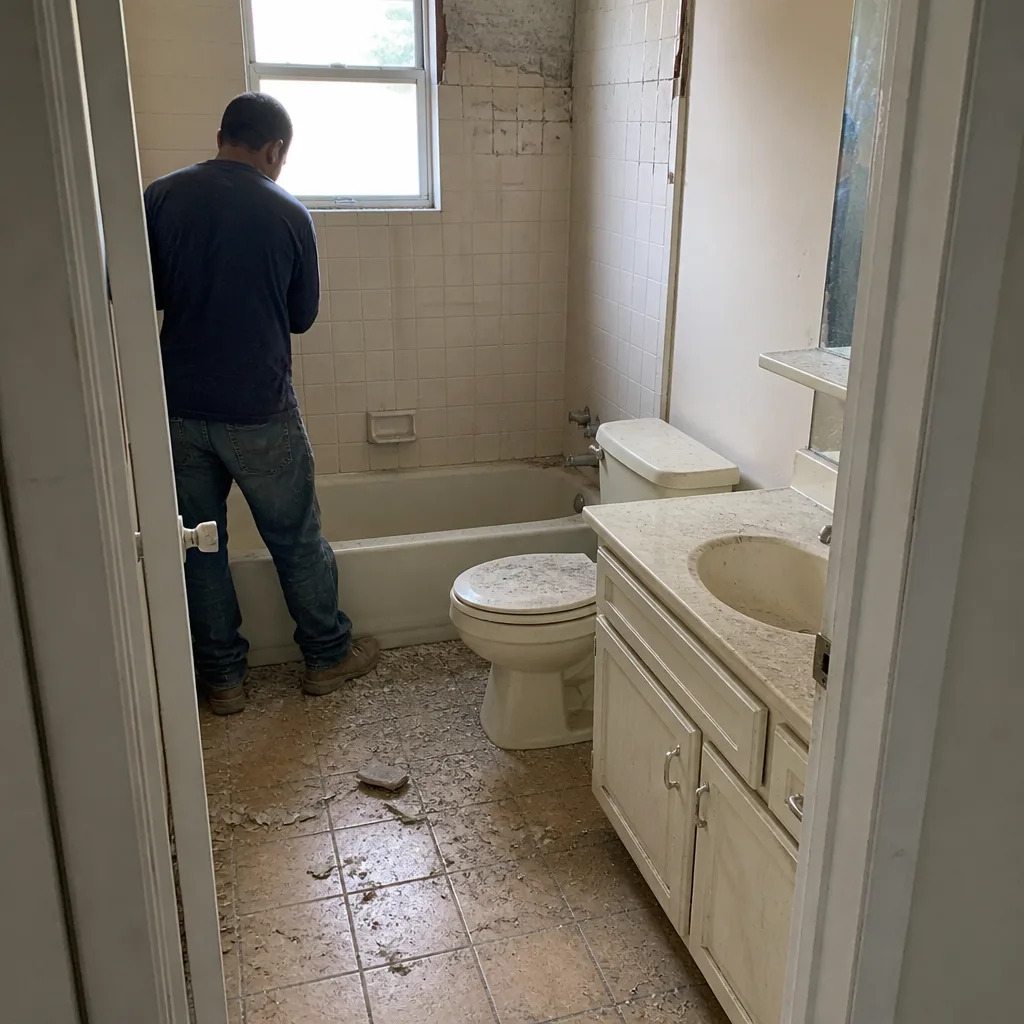 Before
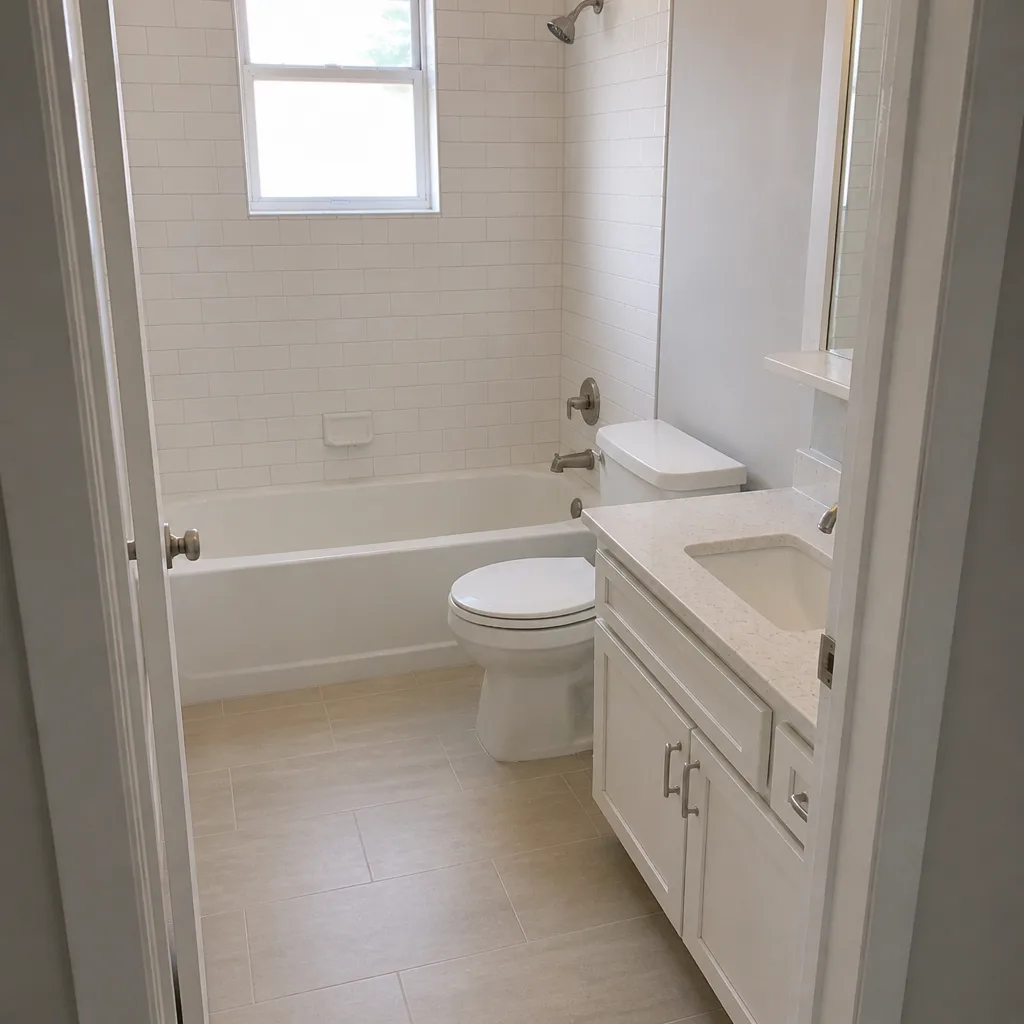 After
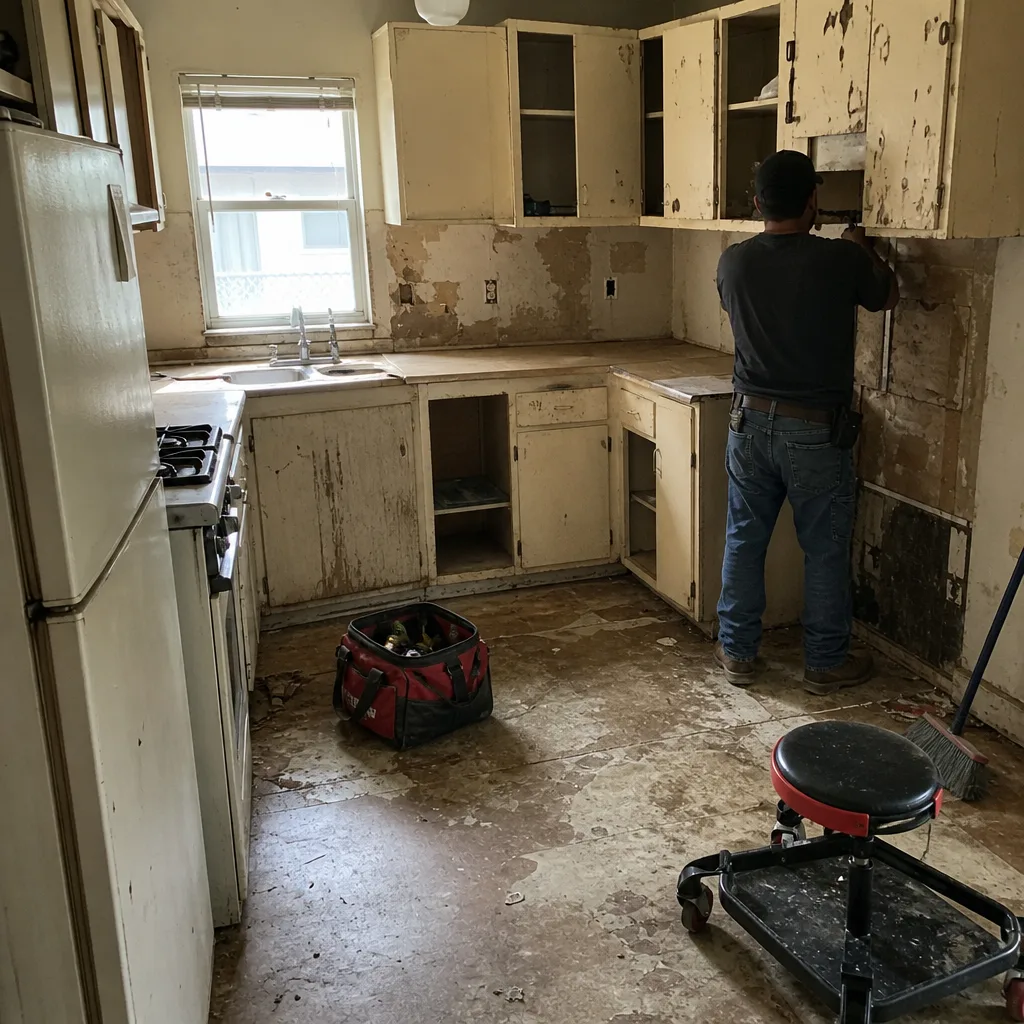 Before
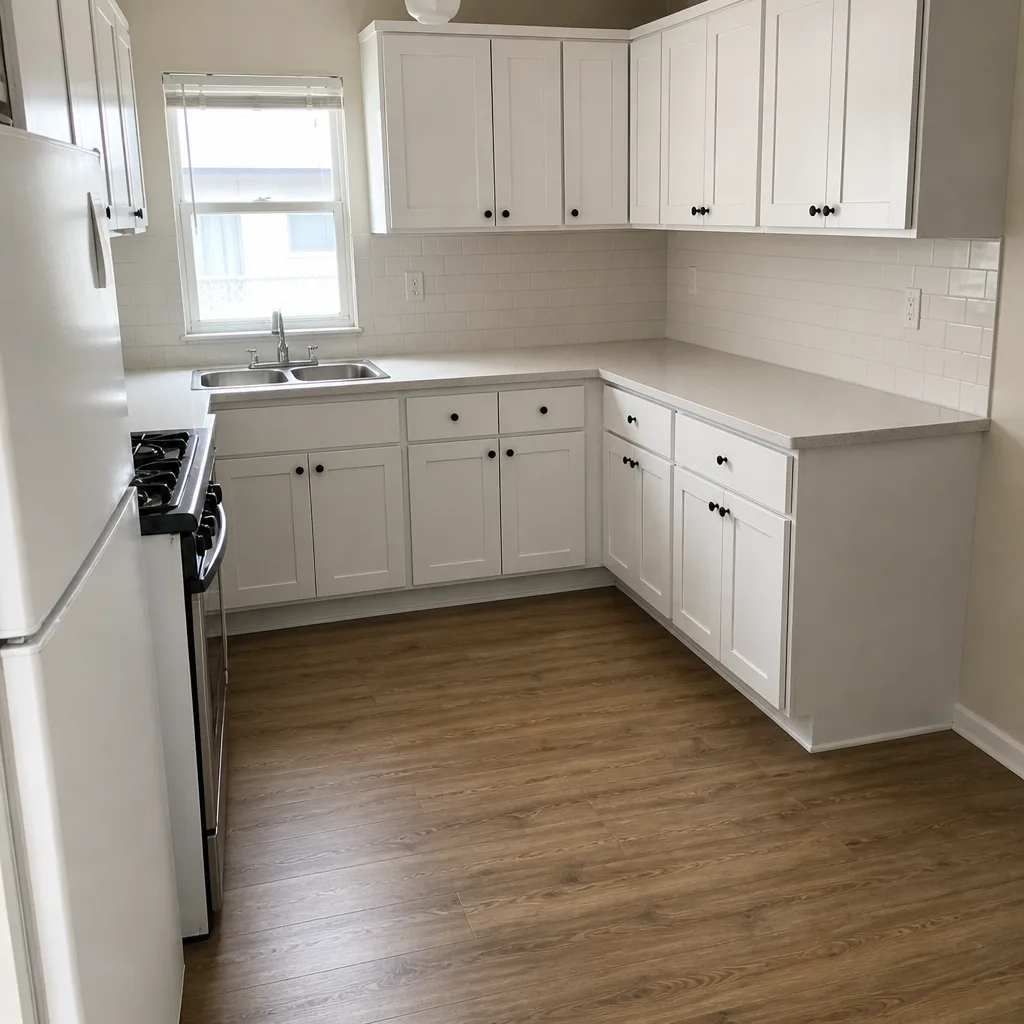 After
When to Call a Professional
Call before the wet season for any inspection that involves the roof, the barrier, or the exterior envelope. Call in the first 72 hours after a storm for any damage that’s letting water in, or that will the next time it rains. Call before planning a fence, driveway, or roof replacement so the material spec and the installation method fit the site, not the other way around. Call when the interior shows moisture and you don’t know which layer of the exterior is the source.
Construction Cutler Bay offers free estimates in Cutler Bay. Call (833) 630-5172. We answer 24/7. Fast dispatch from 7am to 7pm, Sunday through Friday. The estimate is free, the price is set per job by the written estimate, and it doesn’t change once the work starts. Our technicians have up to 15 years of experience with the local cycle.
Frequently Asked Questions
Twice a year, once in the dry season and once in the wet season. The dry-season inspection is where you find and repair gaps; the wet-season inspection is where you find and document what water is doing. The two-season split is the local equivalent of the spring-fall routine a four-season climate calls for.
Water intrusion that starts at a failed caulk joint, window seal, or roof penetration and then travels inside a wall or ceiling. It’s the highest-risk item because the visible damage shows up far from the entry point, and the repair cost grows with every storm it survives. Call (833) 630-5172 for a free inspection estimate.
Yes. The meaningful prep (roof anchoring, window seals, fence post depth, driveway drainage) is done in the dry months, not the week of a storm watch. The dry season is when a contractor can actually get to the work and when the repair has time to cure before the rain.
An annual dry-season walk is a good baseline in Cutler Bay because the UV exposure ages exterior materials faster than the national maintenance guides assume. Roof and window inspections, in particular, benefit from a professional eye on an annual interval. Call (833) 630-5172 for a free estimate.
Prioritize anything letting water in now or likely to within the next few days: roof and ceiling, then window and door seals, then driveway drainage and fence. Cosmetic damage can wait for the dry season. Water intrusion cannot.
We handle the full scope under one roof: exterior perimeter, roofing, windows and doors, and the interior layers. That’s the point of working with one contractor through the two-season cycle rather than coordinating several trades. Call (833) 630-5172 for a free estimate.
The Bottom Line
Cutler Bay runs on a two-season cycle, and the maintenance calendar follows it. Repair in the dry season, monitor in the wet season, and inspect the exterior layers (driveway slope, fence post footings, roof and seals) before the storms rather than after. UV exposure shortens the interval between reseals and inspections, so a seasonal walk is the right rhythm, not an annual one. The highest-value habit is the inspection sequence itself: roof, windows, driveway, fence, trim, in that order, every season. Get that sequence in place and the repair list shrinks instead of growing.
When the list asks for professional work, call (833) 630-5172 for a free estimate. We answer 24/7. Fast dispatch from 7am to 7pm, Sunday through Friday.
Written by the team at Construction Cutler Bay.