Last updated November 17, 2026




Free written scope consultation - allowances, timeline, and change-order rules on paper before a single trade is scheduled
The Complete Driveway & Pavers Guide for Cutler Bay Homeowners
Most driveway failures in South Florida start six inches underground, not at the surface. The paver you see cracking, dipping, or rocking underfoot is just the receipt for a base that was never built for this region’s soil. We’ve torn out premium pavers that looked gorgeous on installation day and were shifting within a single wet season, and the culprit was almost never the paver itself. It was the limerock, the compaction, or the edge restraint nobody thought to spec. This guide walks through what actually holds a Cutler Bay driveway together: the marl and clay under your lot, the wind-driven rain that pushes against every edge, the material choices that survive our UV index and pressure washing, the HOA and Miami-Dade permit rules, and the right order for the perimeter work around it.
Quick Answer
A driveway in Cutler Bay succeeds or fails on its base, not its surface. A properly built system here means a compacted limerock base sized to your soil, a sand setting bed, and edge restraints engineered for lateral hydrostatic pressure from wind-driven rain. Pick the paver material second, and pull your Miami-Dade permits and HOA approvals before a single load of base arrives.
Styles & brands we work with
- Kitchen remodeling
- Bathroom remodeling
- Home additions & ADU
- Roofing
- Windows & doors
- Driveway & pavers
- Fence
Table of Contents
- Why Cutler Bay Soil Changes Everything
- How Wind-Driven Rain Moves Pavers
- Concrete vs. Brick vs. Travertine vs. Porcelain
- Permits, HOA Rules, and Impervious Limits
- How a Driveway Gets Built, Step by Step
- Sequencing the Driveway With Your Fence and Landscaping
- What Drives the Cost of a Paver Driveway
- Keeping a Driveway Solid in Cutler Bay
Why Cutler Bay Soil Changes Everything
Driveway specs written for Ohio or Georgia assume a stable, well-drained subgrade. Cutler Bay doesn’t hand you one. The ground under most lots around town is a mix of marl, a limestone cap that can sit shallow, and clay pockets that hold water and swell when they’re wet. That combination behaves very differently from the sandy soils paver installation guides out of state are written around.
Marl is the marlstone and shelly marine sediment that makes up a lot of South Florida’s upper geology. It’s fine when it’s compacted and dry, but disturbed or undercompacted marl turns soft and pumpy once it takes on water. Clay pockets do the opposite: they expand, then shrink, and the ground above them moves with it. Neither of those is a paver problem. They’re a base problem.
This is why we specify a compacted limerock base for Cutler Bay driveways instead of a flexible gravel base. Limerock, when it’s laid in lifts and compacted correctly, gives you a stiff, load-spreading layer that bridges over clay pockets and keeps the movement where it belongs. The wrong call – a single deep gravel layer over disturbed marl – gives you a driveway that looks right for six months and then shows every flaw in the subgrade.
How Wind-Driven Rain Moves Pavers
South Florida doesn’t get rain in small, polite increments. It gets intense cells that arrive sideways, driven by wind, and dump more water on a driveway in twenty minutes than other regions get in a week. That has a specific physical consequence in pavers: lateral hydrostatic pressure.
Here’s what happens. Water hits the sealed or semi-sealed surface faster than it can drain through the joints and setting bed. It pools along the edges and pushes. Over a season of these events, that force works pavers away from the borders, from the outside inward. A driveway with weak edge restraint will start to gap at the perimeter, and once the pattern opens up, water finds its way under the field of pavers and the whole surface starts to rock.
This is the part most people get backwards. Paver thickness gets all the attention, but in Cutler Bay the edge restraint does more structural work than the paver does. A three-inch paver with a proper concrete edge restraint outlasts a premium paver with a plastic edge strip that was never designed for this kind of water. Look at any failing driveway in town and check the edges first – it’s almost always where the failure began.
Concrete vs. Brick vs. Travertine vs. Porcelain
Once the base is right, material choice becomes a question about how the surface behaves in a hot, wet, high-UV environment. Here’s how the four main options actually perform around Cutler Bay.
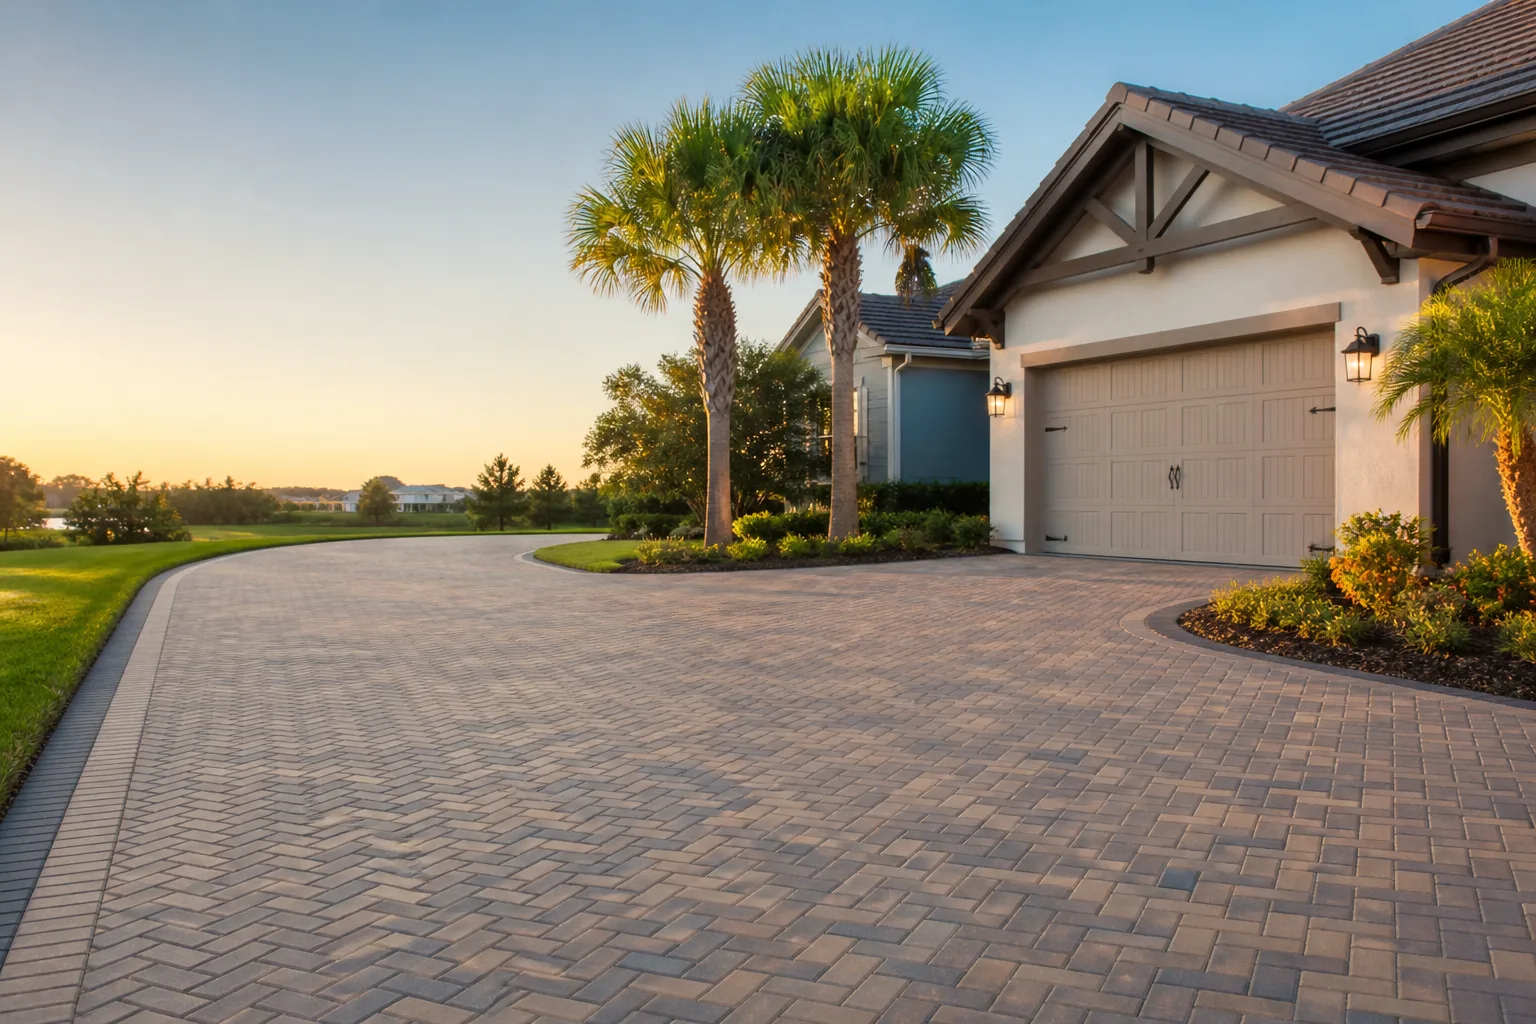
- Concrete pavers. The workhorse. Concrete pavers from a good manufacturer hold up well to our UV load, handle pressure washing without surface damage, and the joints let water move the way it’s supposed to. They’re the most forgiving option when a homeowner wants a strong driveway at a reasonable spec, and they’re available in interlocking systems that spread load across the base.
- Brick pavers. Clay brick pavers are dense, resist staining, and take color well. They hold up to Sun in the long term, but they’re heavier and pricier than concrete, and the color range is narrower than what concrete manufacturers offer.
- Travertine. Popular for pool decks and entry aprons, and a strong choice for the look. Travertine runs hot underfoot in direct sun and can be a maintenance item on a full driveway because it’s softer and more porous than it looks. It works best on shaded surfaces or as an accent band.
- Porcelain pavers. The premium option now. Porcelain holds color better under UV than almost anything else, resists staining, cleans up with pressure washing, and gives a very clean modern look. The tradeoff is price and a setting method that has to be exactly right. It’s unforgiving of a bad base.
Whichever route you take, the correct sequence is base first, material second. Our technicians have up to 15 years of experience with these installs, and the single biggest variable in every one of them has been the substrate, not the surface. If your driveway ties into other exterior work, this is also the point where it pays to plan the whole perimeter at once, which is part of why one contractor can carry across the full scope with Construction Cutler Bay.
Permits, HOA Rules, and Impervious Limits
Cutler Bay sits within a county where driveway and paving work is regulated at two levels: your municipality and Miami-Dade County. Most driveway replacements are permit-triggered, particularly when the impervious surface area of the lot changes and when you’re altering the drainage pattern. Your city’s building department is the definitive source on whether your specific job needs a permit – ask them in writing before work starts.
The impervious surface limit is the number that catches homeowners off guard. A paver driveway, a paver pool deck, and a paver walkway all count as impervious, and many lots already carry a fair amount of impervious coverage. If you’re adding or expanding paving, you may need to account for that limit or route stormwater in a way the county accepts. We pull permits and pass inspections as part of every job we run, so this is standard work for us, but it’s the reason we want a site walk before quoting.
HOA considerations in Cutler Bay fill out the other half. Short of your HOA’s own rules, expect to deal with:
- Setback requirements between the paving edge and the property line.
- Color and pattern restrictions, particularly on visible surfaces.
- Landscaping buffer rules in front of the driveway apron.
- Approval on the exact product line, not just “pavers”.
Get the HOA sign-off before the materials are ordered. Swapping product after delivery is where rework gets expensive, and it’s the first place a well-intentioned DIY plan goes wrong.
How a Driveway Gets Built, Step by Step
Here’s the sequence a properly built Cutler Bay driveway follows. If you’re interviewing contractors, this is the order to ask them about.
- Assessment. Walk the lot and identify soil type, marl versus sand, clay pockets, root intrusion, and drainage slope. Confirm set-backs and impervious limits.
- Demolition. Remove existing surface, base, and edge restraint fully. A driveway laid over an old failing base is a driveway that fails on schedule.
- Subgrade prep. Excavate to the correct depth, account for the base thickness you need for the soil, and correct any soft spots. Clay areas may need significant excavation and fill.
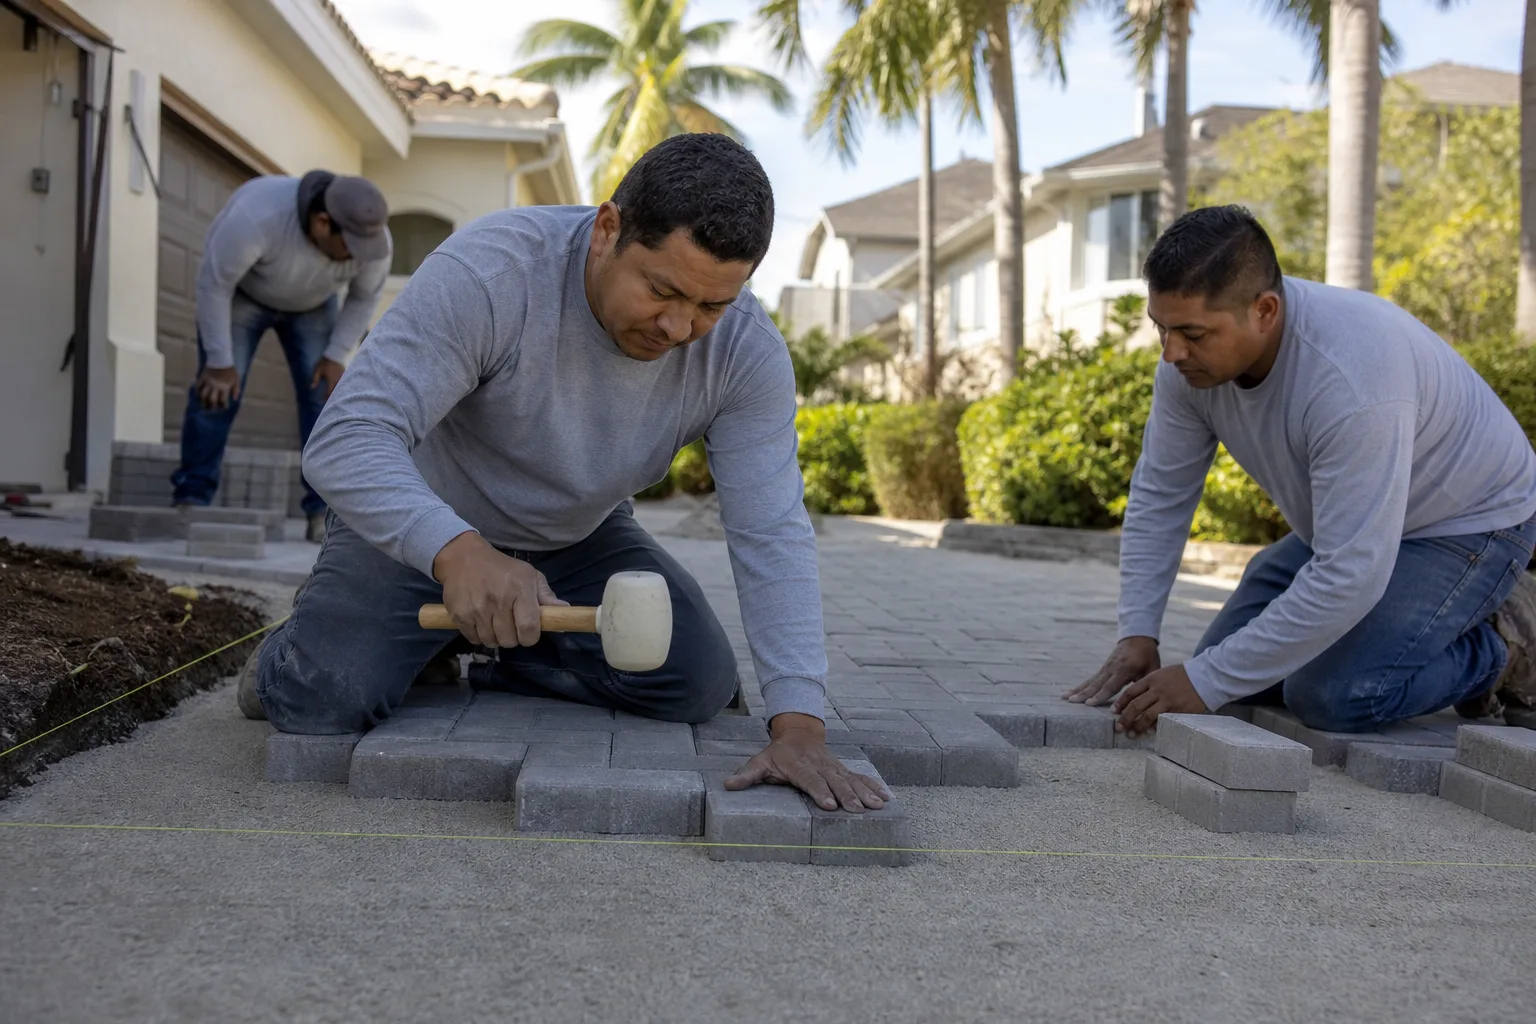
- Base installation. Limerock laid in lifts, each compacted before the next. This is where most of the structural work happens.
- Edge restraint. Set concrete edge restraint on the base, keyed to the field and sized for the water pressure your surface will see. Not a plastic strip.
- Setting bed and pavers. Sand setting bed leveled, pavers laid in the approved pattern with joints sized per the manufacturer’s spec.
- Compaction and sealing. Field compacted, joints swept, and a sealer applied only when the manufacturer’s cure period allows.
None of these steps is optional in Cutler Bay. Skip the compaction or the restraint and you’ll be back at step two sooner than you think.
Sequencing the Driveway With Your Fence and Landscaping
A driveway never exists alone. It meets the garage apron, runs to a fence line or gate, moves stormwater toward landscaping, and defines how you access the property. When these scopes get done in the wrong order, they get done twice.
The right sequence is driveway base and edge restraint first, then fencing, then landscaping and irrigation. If your fence is set into a paving field, the base has to be cut and compacted around the post locations before the pavers go in. If you cut through a finished driveway for a fence post later, you’re pulling pavers, recompacting base, and re-sourcing matching product. Same story with irrigation: route the lines before the setting bed. And the garage apron gets pitched and tied into the fender course in the same pour sequence as the main driveway – not added as an afterthought.
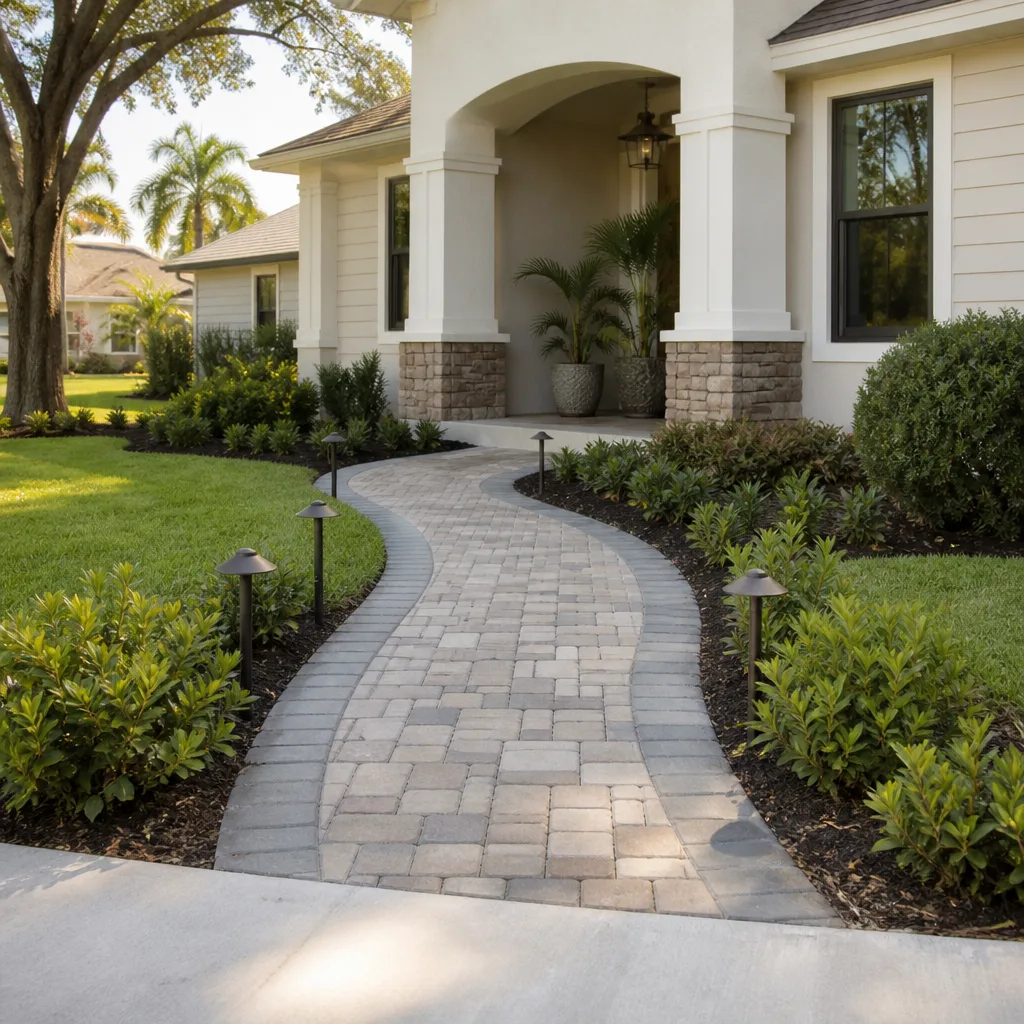
This is where one contractor for the whole perimeter saves real money. A paver driveway, a new aluminum or vinyl fence, and the surrounding landscape plan are one design problem, not three. Our driveway & pavers work routinely ties into the fencing and landscaping schedule for exactly this reason. If you’re also thinking about adding a driveway-side storeroom or expanding square footage, plan the fence installation and any home additions & ADU scope together so nothing gets torn out twice.
What Drives the Cost of a Paver Driveway
A paver driveway is priced per job from a written estimate, and the written estimate is what sets the final price. Instead of a number to memorize, here’s what actually moves the cost up or down in Cutler Bay.
- Base excavation and soil correction. More clay, more marl, or a soft subgrade means deeper excavation and more limerock. This is often the largest single variable.
- Permits and inspections. Required work includes permit fees and inspection time in the scope.
- Edge restraint. A proper concrete edge is not a line item to cut. Cheaper restraint is a false saving that fails.
- Material and pattern. Concrete pavers sit at the base of the range; clay brick and porcelain sit at the top. Complex patterns increase labor.
- Site access and demo. Removing an existing surface and hauling it off is real work, not a free step.
- Sealing. Optional but common in South Florida given UV and moisture loads.
We don’t quote a per-square-foot universal number. Two lots on the same Cutler Bay street can be radically different projects depending on what’s under them.
Keeping a Driveway Solid in Cutler Bay
Once a driveway is well built, keeping it that way is mostly a schedule, not a repair list. Pressure wash when the surface shows algae, mildew, or dark buildup rather than on a fixed calendar – our humidity supports growth year-round and over-washing damages the surface just as surely as leaving algae on it.
Check the edges every few seasons. Walk the driveway border and look for gaps, differential settlement, or the first signs of pavers creeping away from the restraint. Fixing a small edge issue early is cheap; letting it open up means cutting out and rebuilding the affected strip. Sweep sand into joints after heavy rain events – the wind-driven rain will wash fines out over time, and the joints need to stay filled to keep the surface locked.
And when it’s time for a drive under a full-width vehicle load, don’t think “resurfacing”. The paver itself is rarely the problem in Cutler Bay – the base is. That’s why we check the structure before we sell a surface.
Common Mistakes to Avoid
- Using an out-of-state base spec. A gravel base sized for stable northern soils over local marl or clay pockets is the single most common failure we see. It’s a spec problem, and it doesn’t show until it does.
- Skipping the edge restraint to save on cost. In Cutler Bay’s wind-driven rain, restraint carries the load, and a plastic edge strip or a shallow concrete curb won’t hold the field against hydrostatic pressure.
- Ordering pavers before the HOA approves. Approvals are product-specific. Ordering the wrong line means delays and, if already delivered, a restocking problem.
- Paving over a failing base. If the surface is rocking, the base is already compromised. A new paver layer over a bad base inherits every defect.
- Sequencing landscaping before the driveway. Irrigation lines and plant beds built before base and edge restraint get torn out during installation.
- Ignoring the impervious surface limit. Adding paving without checking the lot’s existing impervious coverage is a permitting problem that can force redesign late.
- Pressure washing too aggressively too often. It strips sealant and accelerates surface wear. Wash for cause, not on a habit.
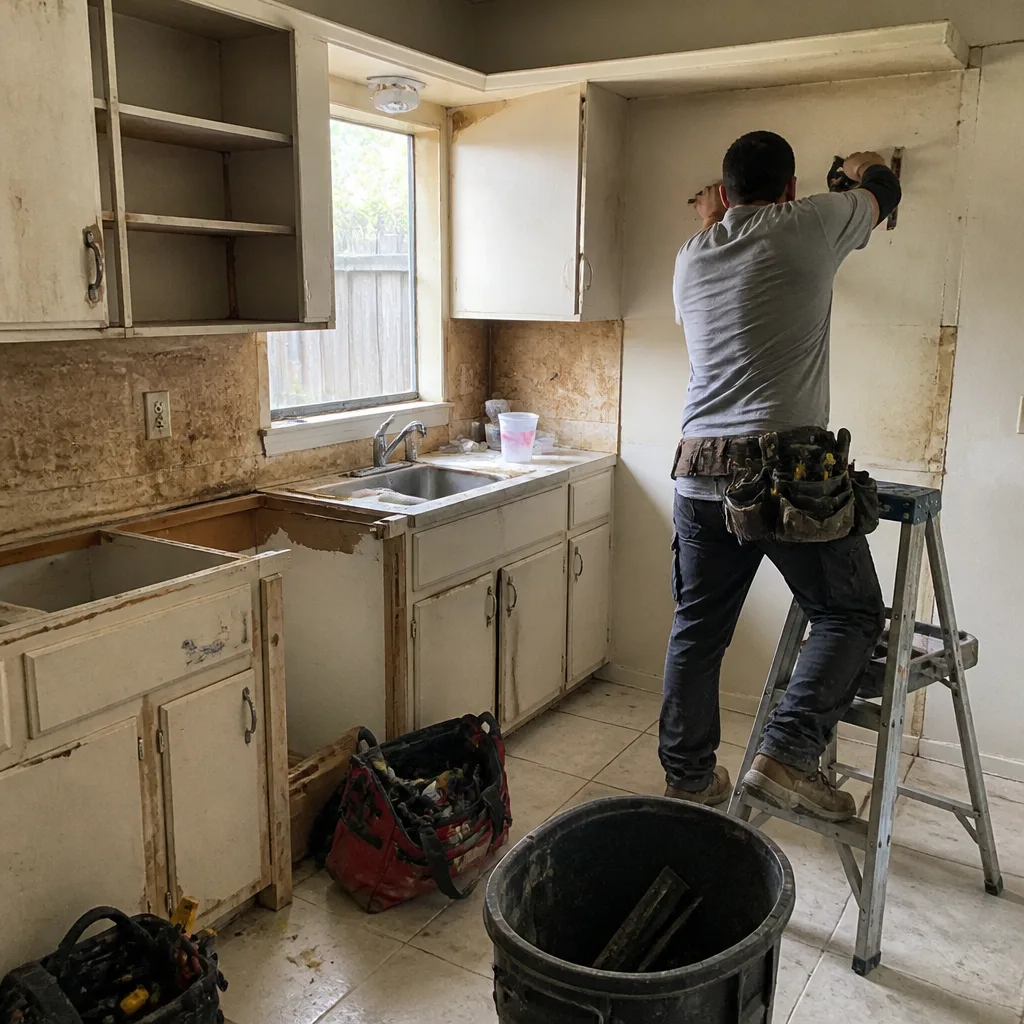
See the difference
 Before
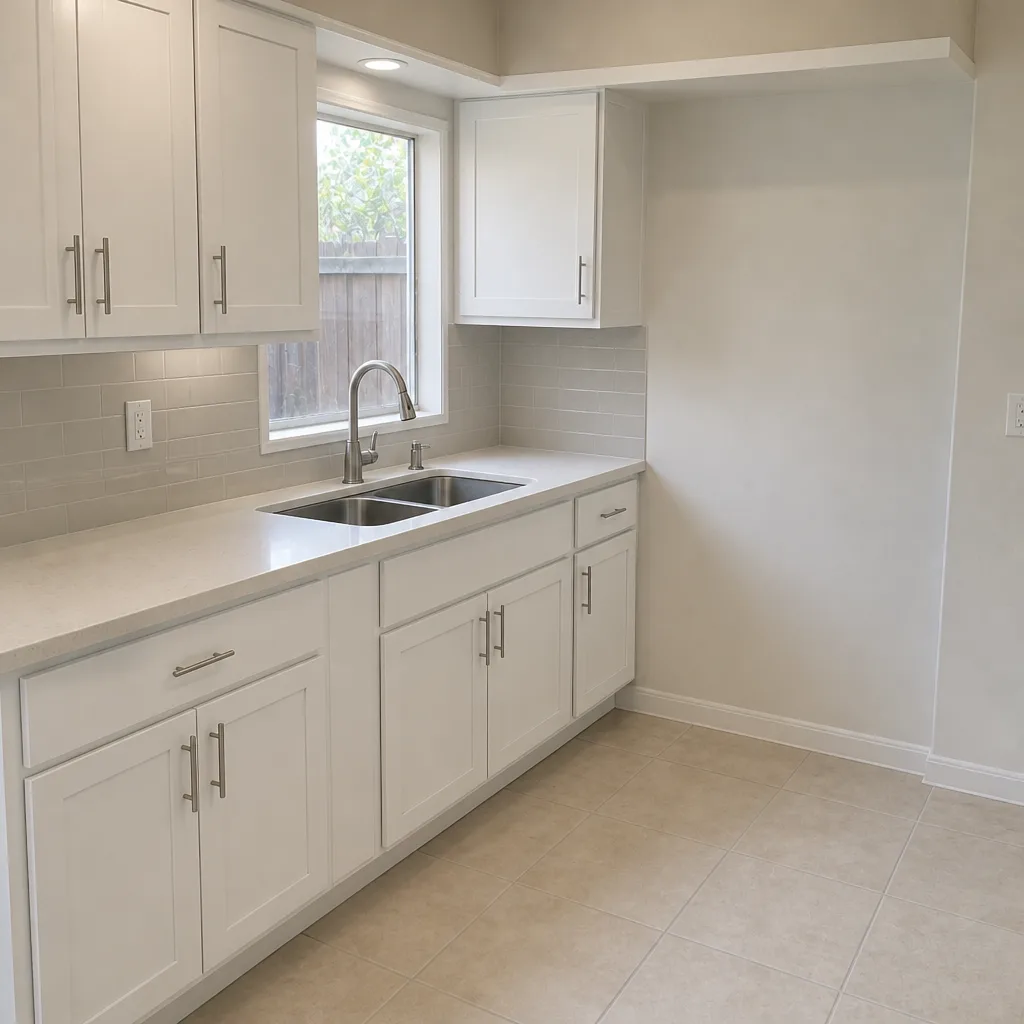 After
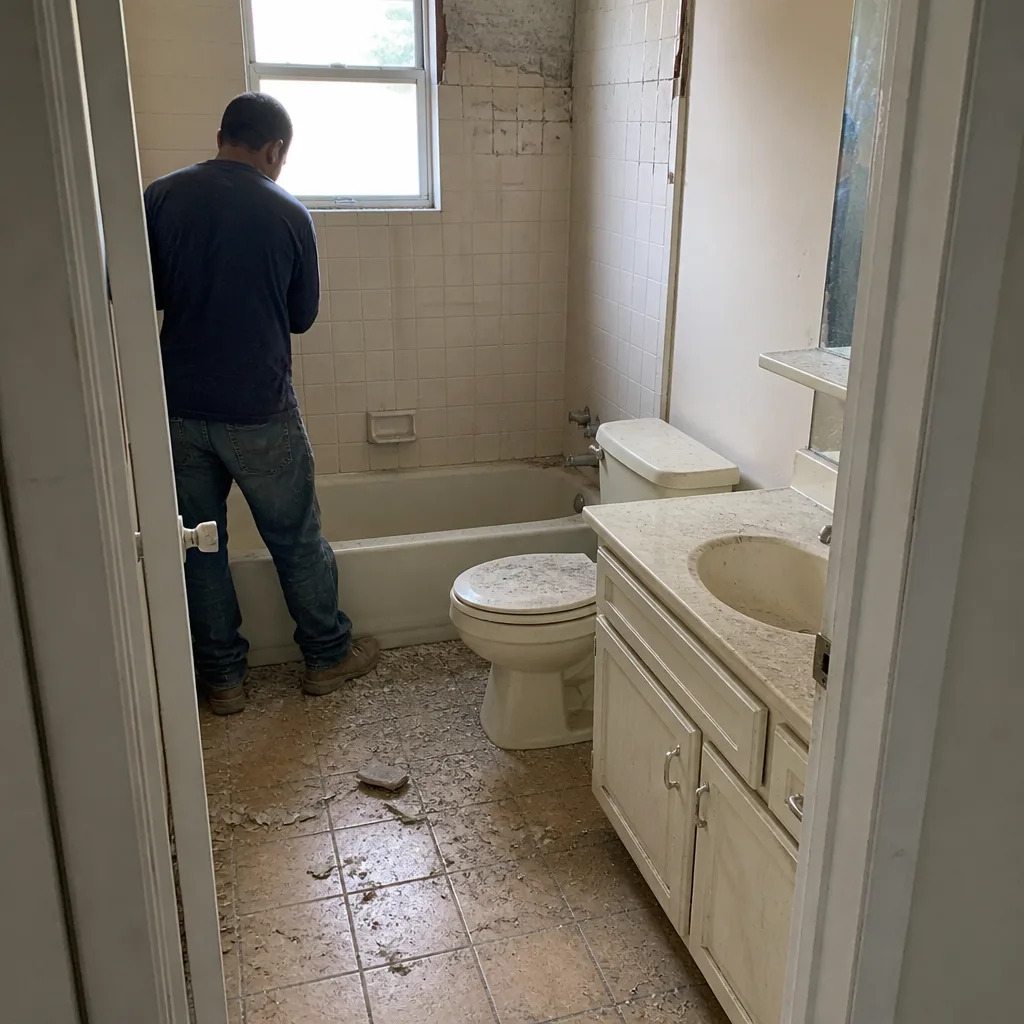 Before
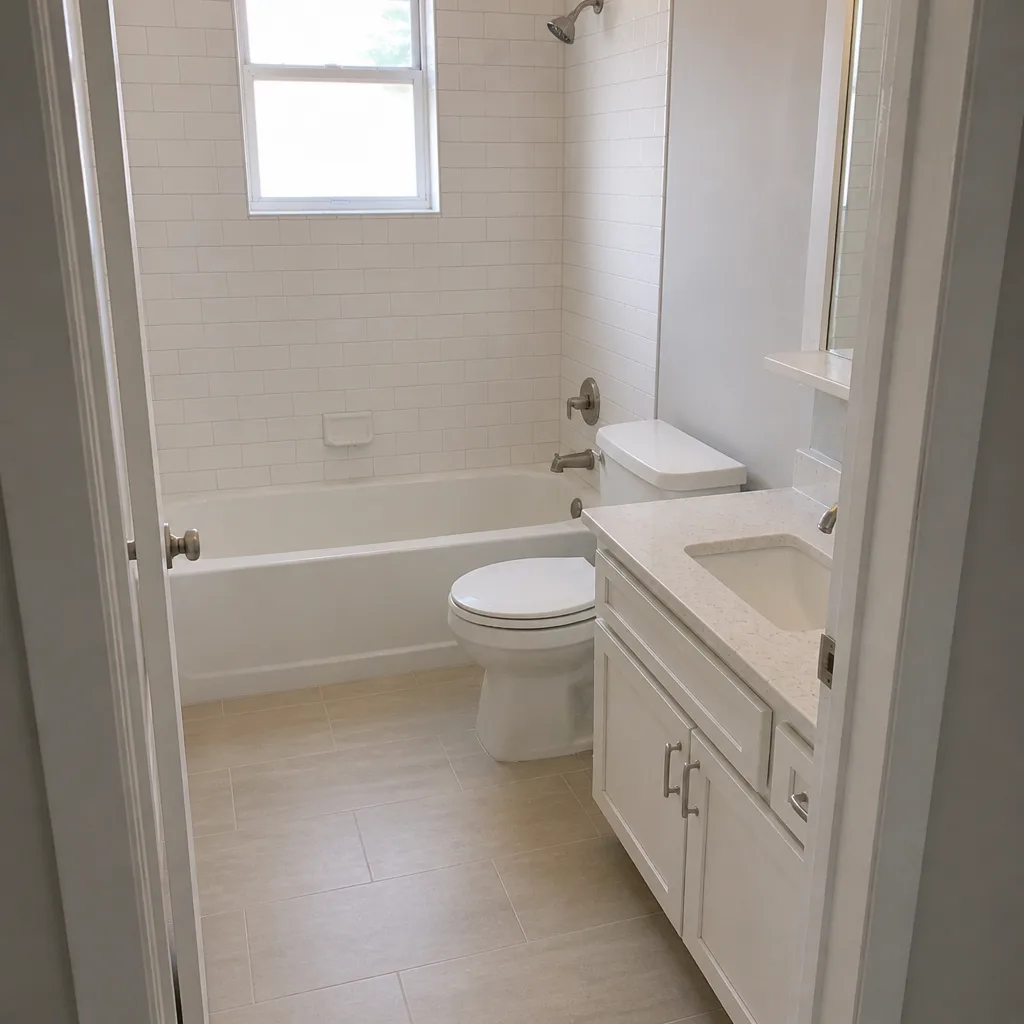 After
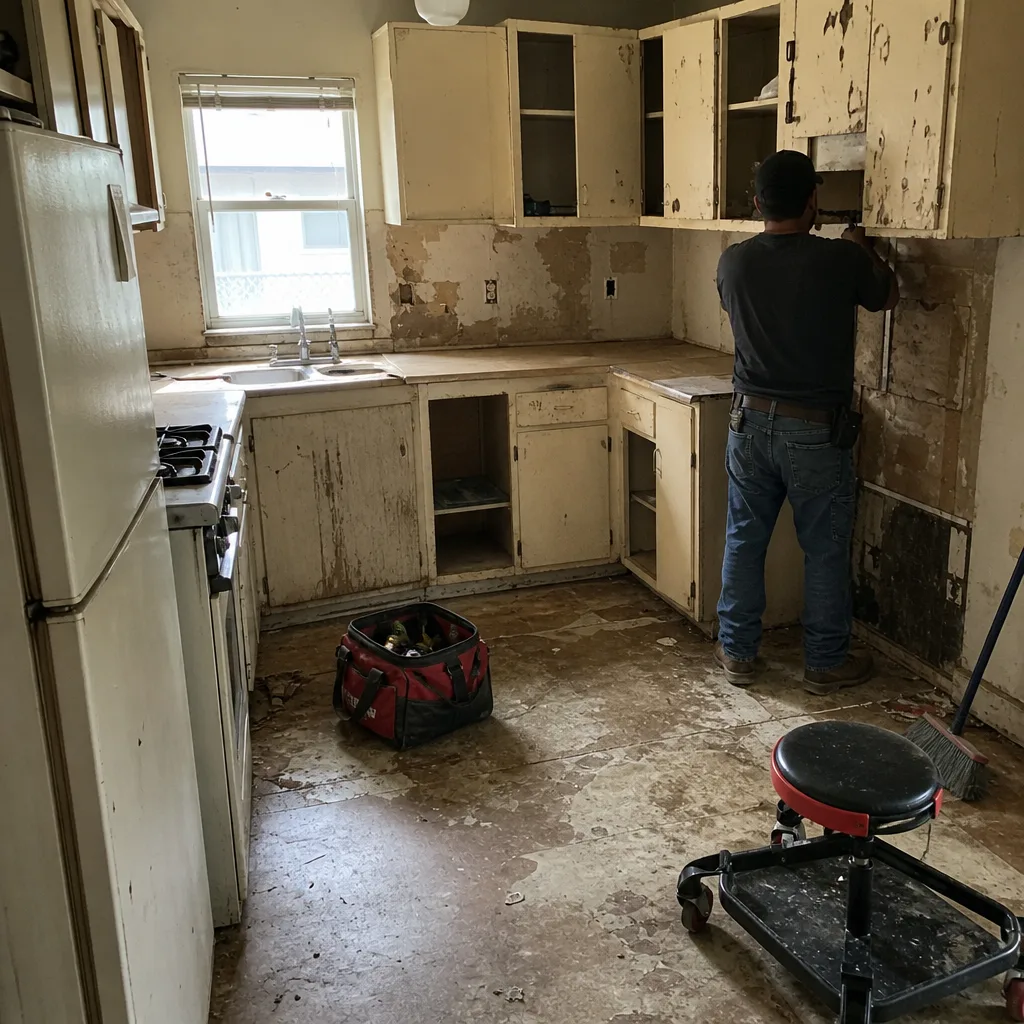 Before
 After
When to Call a Professional
Anyone can put pavers down. Building a driveway in Cutler Bay that holds up to the soil, the wet-dry cycle, and the wind-driven rain is a base-engineering job. Call a professional when your driveway has any of these signs: rocking or settled pavers, gaps along the perimeter, joints dumping sand on every rain, water pooling toward the house or garage, an existing concrete slab that’s cracking under load, or a plan to add paving where the impervious limit might be a factor. You should also call before any project where the driveway ties into fencing, a fence gate, a garage apron, landscaping, or a larger addition – sequencing those scopes correctly from the start is far cheaper than fixing them afterward. Construction Cutler Bay offers free estimates in Cutler Bay – call (833) 630-5172 to schedule a site walk.
Frequently Asked Questions
There’s no universal per-square-foot price, because the base excavation and soil correction on your lot will vary widely from your neighbor’s. The written estimate is what sets the final price, and it accounts for base depth, edge restraint, permits, material, and demo. Call (833) 630-5172 for a free estimate tailored to your property.
Sometimes, but only if the existing slab is structurally sound, properly sloped, and doesn’t show cracking or settling under load. In Cutler Bay, a lot of older concrete slabs already have base problems, and laying pavers over a compromised slab just hides them. It’s worth a professional assessment before you commit to the overlay approach.
Many driveway replacements and expansions require a permit, especially when the job changes impervious surface area or stormwater drainage. Your city’s building department is the definitive answer for your lot. We pull permits and pass inspections on the work we do, so that coordination is part of the job.
Concrete pavers are the most common and most forgiving choice for a full driveway here, balancing cost and durability against our UV load and pressure-washing needs. Porcelain pavers are the premium option for color retention and stain resistance. Travertine is usually best on shaded surfaces or as an accent band rather than the whole drive.
A driveway built on a correct limerock base with proper edge restraint can last decades, because the pavers themselves are rarely what fails first. Where driveways fail early here, it’s almost always the base or the restraint, not the surface material. That’s the part worth inspecting and specifying carefully.
Pavers allow water to move through joints and the setting bed, which can be better than a solid concrete surface if the base is designed to route the water correctly. But that only works when the base and the drainage slope are engineered for it. Poorly designed pavers trap water and shift under it, so get the drainage plan right before choosing materials.
The Bottom Line
A driveway in Cutler Bay is a soil-engineering decision dressed up as a design decision. Get the base right – a compacted limerock system sized for local marl and clay, with concrete edge restraint built for wind-driven rain – and the material choice becomes straightforward. Get the base wrong, and the prettiest paver in the catalog will move in a season. Permits, HOA approvals, and impervious surface limits need to clear before ordering. Sequence the perimeter work correctly, driveway base first, fencing second, landscaping last. And when you’re ready to stop guessing and start comparing real quotes, call us. We’ll walk the site, find the actual conditions, and put a written estimate in front of you with no change orders after the fact.
Call (833) 630-5172 for a free estimate. We answer 24/7. Fast dispatch from 7am to 7pm, Sunday through Friday. Closed Saturday.
Written by the team at Construction Cutler Bay.