Last updated November 17, 2026




Free written scope consultation - allowances, timeline, and change-order rules on paper before a single trade is scheduled
Driveway & Pavers Maintenance Checklist for Cutler Bay Homeowners
If your pavers look fine but rock underfoot, the slab isn’t the problem – the compacted base beneath it has already begun to migrate, and sealing the surface now locks the damage in. Most driveway care advice tells you to pressure-wash, re-sand, and seal, then repeat. That routine treats the surface and ignores the ground underneath it. In Cutler Bay, the ground underneath is doing most of the work. This guide covers the maintenance checklist that actually matches our local conditions: what to inspect, when to inspect it, how to tell the difference between a sanding problem and a base problem, and which materials hold up longest under South Florida sun. You’ll leave with a season-by-season schedule you can actually follow.
Quick Answer
Paver driveway maintenance in Cutler Bay comes down to four tasks on a schedule: inspect the base and joint lines after the rainy season, re-sand joints when they drop below the bevel, clean before sealing (not after), and seal during the dry months so the surface cures instead of trapping moisture. The single most important rule is this: if pavers move or settle, find the base problem before you spend anything on sealing or re-sanding. Surface fixes applied over a failing base only hide the damage until the next wet season.
Styles & brands we work with
- Kitchen remodeling
- Bathroom remodeling
- Home additions & ADU
- Roofing
- Windows & doors
- Driveway & pavers
- Fence
Table of Contents
- Why Cutler Bay Pavers Fail From the Base Up
- Polymeric Sand Failure vs. Base Failure: How to Tell Them Apart
- The Season-by-Season Cutler Bay Paver Checklist
- A 10-Step Inspection You Can Do Yourself
- Which Paver Materials Hold Up Best in Cutler Bay
- Re-Sanding vs. Full Re-Lay: When Each One Makes Sense
- Cleaning and Sealing Without Damaging the Pavers
- Drainage, Water Table, and Why Slope Matters More Here
Why Cutler Bay Pavers Fail From the Base Up
Cutler Bay sits on a high water table over limestone subsoil. That combination changes how a driveway behaves compared to what you’d see inland or further north in Florida. Limestone is porous and dissolves slowly; water moves through it rather than sitting on top. When the water table rises during the wet season, moisture wicks up into the compacted base gravel (usually a crushed limestone or limerock base) and softens it. When the table drops in the dry season, the base dries and shrinks. This wet-dry cycle repeats every year, and it puts a slow, repeating load on the base layer that the surface never sees.
That’s the mechanism behind the most common paver driveway failure in Cutler Bay: base settlement. It usually starts in one of three places.
- The edges. The edge restraint (the hidden border that holds the outer pavers tight) is the first thing to loosen when the base softens. Once it does, the field spreads outward and joints open up along the perimeter.
- Low spots. Water pools where the base has already settled. Standing water softens the base further. It’s a self-reinforcing loop.
- Utility trenches. Older driveways crossed by irrigation or utility lines often settle along the trench line, because the backfill compacts differently than undisturbed base.
None of this is visible from the surface on day one. By the time you see joint sand washing out over and over, the base is usually already moving. Our technicians have up to 15 years of experience, and the pattern is consistent: the driveway that gets re-sanded every year is almost always a driveway with a base problem. If you want to understand what a properly compacted base looks like on a new install, see our driveway & pavers page.
Polymeric Sand Failure vs. Base Failure: How to Tell Them Apart
This is the diagnostic that saves homeowners money. Polymeric sand is the joint filler that locks pavers together and keeps water from draining straight into the base. It fails from the top down – UV degradation, foot traffic, pressure washing, and thermal movement all break it down over a few years. Base failure happens from the bottom up and needs a completely different repair. Before you call anyone, do the two-minute test below.
The Rocker Test
Walk the full driveway barefoot or in flat shoes. A paver that rocks slightly under you is sitting on a void. One or two loose pavers near a car tire path is ordinary wear. More than a handful, especially along a straight line or a low spot, points to a base problem.
The Water Test
Run a hose over a small area and watch where the water goes. If it drains through the joints slowly, the polymeric sand is probably intact even if it looks worn. If it drains immediately and the joints look like open gravel, the sand has failed. If water pools in a low spot and stays for more than a minute after the hose stops, the base has settled there regardless of how the sand looks.
The Joint Depth Test
Look at the joints from a low angle. Polymeric sand should sit roughly flush with the paver bevel – within about an eighth of an inch. If joints are more than a quarter-inch deep across a wide area, the sand is gone. If the joints look full but the pavers still rock, the sand is a symptom, not the cause.
The Edge Test
Push on the outer pavers along the edges of the driveway. Any movement at all means the edge restraint has loosened and the base is compromised along that line. This is the earliest sign of base failure we see in Cutler Bay, and it’s the easiest to catch if you check every few months.
If a driveway fails the Rocker Test or the Edge Test, don’t spend money on re-sanding yet. If it fails only the Joint Depth Test and the surface is level, a fresh re-sand is usually enough to reset the clock. For a closer look at what a professional base assessment involves, our team at Construction Cutler Bay can walk through it with you.
The Season-by-Season Cutler Bay Paver Checklist
The wet-dry cycle here has a clear rhythm, and paver maintenance should follow it. Our rainy season runs roughly June through November, with the heaviest afternoon thunderstorms from August through October. The dry season runs roughly December through May, which is also when you get the most direct sun and UV. Plan your checklist around those two windows.
Post-Rainy-Season Inspection (November – December)
- Walk the whole driveway, edge to edge, barefoot. Note every paver that rocks or sounds hollow underfoot.
- Check the edges and corners of the driveway. Look for any pavers that have shifted outward or lost contact with the edge restraint.
- Inspect joints for missing sand. Pay extra attention to the low side of the driveway, where water drains.
- Test drainage. Pour a bucket of water at the highest point and see whether it flows cleanly off the driveway or pools somewhere in the middle.
- Look for efflorescence – the white, chalky film that appears on pavers when moisture moves through the material and evaporates at the surface. A small amount is normal after the wet season. Persistent, spreading efflorescence suggests moisture trapped in the base.
Dry-Season Maintenance and Sealing (January – May)
- Clean the pavers thoroughly. Sweep, then use a low-pressure washer (under 1,500 psi) with a wide fan tip. A turbo nozzle or a high-pressure wand will carve lines into the surface.
- Let the driveway dry for at least 48 hours. Surface water and base moisture both have to go before sealing; sealed-in moisture is one of the most common causes of cloudy, peeling sealer.
- Re-sand joints as needed. Use a polymeric sand rated for wide-joint application, and follow the manufacturer’s cure instructions exactly. Sweep it in, compact it, mist it once, and stay off the driveway for the cure window (usually 24 hours, sometimes longer depending on the product).
- Seal in the dry months. Sealing during the rainy season traps moisture under a film, which mottles the color permanently. January through May is the correct window in Cutler Bay – the pavers dry out fully, and the sealer cures hard before the rains return.
- Re-check in the middle of dry season. UV degradation is strongest in these months, so a second look in March or April catches joint sand losses early.
After a hurricane or named storm, treat the post-storm walk as an extra inspection round. Wind-blown debris and heavy runoff can strip sand from joints in a single event, and the sooner you refill, the less water reaches the base.
A 10-Step Inspection You Can Do Yourself
You don’t need a professional to do the first pass. You need an hour, a hose, a bucket, and a critical eye. Here’s the order our team walks a driveway in when we assess one in Cutler Bay.
- Clear the driveway completely. Park the cars on the street, sweep off debris, and get to a clean surface.
- Walk it barefoot. The skin of your foot is more sensitive to subtle rocking than a shoe sole.
- Listen for hollow sounds. Tap pavers with a screwdriver handle – a hollow thud means a void below.
- Inspect all four edges. Look for gap-widening between edge pavers and any pavers that have risen above the plane.
- Measure joint depth at 10 random spots using a screwdriver blade. Note any deeper than a quarter inch.
- Water test the whole slope. Pour from the highest point and watch whether water reaches the curb without pooling.
- Check the low spot. Measure from the low paver to the surrounding pavers with a straight edge – anything more than an eighth-inch depression is worth watching.
- Look for cracks and chips across the field, especially along car tire paths and near the street apron.
- Take photos. Date-stamped photos let you compare year over year – damage that looks alarming in isolation is often harmless when you see it’s been stable for three years.
- Log the results. Write down where the issues are so you can check the same spots next season.
Repeat this inspection once in November and once in April. If the same spot shows up both times, or if the low spot is deepening, that’s when you bring in a professional. If you want to see how a full paver install is specified so you have a baseline, our driveway & pavers page walks through base prep, compaction, and joint materials in more detail.
Which Paver Materials Hold Up Best in Cutler Bay
Not all pavers age the same way in South Florida sun. UV exposure here is high year-round, and the wet-dry cycle stresses every product differently. Here’s how the common paver types compare in Cutler Bay conditions.
- Concrete pavers (interlocking). The standard choice, and for good reason – they handle UV well, resist fading better than most when pigmented through the body, and are repairable if a single unit cracks. Belgard, Tremron, and similar lines are built for this climate. The weak point is the surface texture: rough finishes hold dirt and mildew. A penetrating sealer helps significantly.
- Clay brick pavers. Excellent UV stability – clay doesn’t fade the way concrete can, and it doesn’t chalk. Heavy, dense, and durable. The main drawbacks are cost and weight, which means higher base preparation requirements. Repairs are usually done with a similar mortar set, which is a slower process.
- Techo-Bloc and premium concrete lines. Modern engineered concrete pavers with tighter dimensional tolerances and denser face mixes. They hold up well against UV and clean up more easily than rougher textures. Project a higher spec, in our experience, but the durability justifies it in this climate.
- Travertine and natural stone. Beautiful when new, but the porous surface is a magnet for mildew in the wet season. Requires more frequent cleaning and resealing. Travertine is a real choice for covered driveways or entries, less forgiving for an open, sun-exposed driveway where cars park.
- Permeable pavers. Open-graded joints that let water infiltrate directly into the base. In Cutler Bay’s high water table, permeable systems need a deeper, more carefully engineered base to perform correctly. Worth considering for larger properties with drainage issues, but not a casual add-on.
What we’d steer most Cutler Bay homeowners toward: a high-density concrete paver with a tight face texture, backed by a well-compacted limerock base, with a penetrating sealer reapplied every two to three years. Color stability in white, beige, and warm tan tones is generally excellent; blacks and deep reds can fade slightly faster under direct sun.
Re-Sanding vs. Full Re-Lay: When Each One Makes Sense
The single most expensive mistake in paver maintenance is re-sanding a driveway that has already failed at the base. Here’s how to decide which repair you actually need.
Re-Sand When…
- The pavers are level and don’t rock, but joints are visibly low.
- Water drains cleanly off the driveway; there are no low spots where water pools.
- Edge pavers are tight and the edge restraint is intact.
- Efflorescence is minimal and hasn’t returned after cleaning.
- The driveway is under 10 years old with a properly documented base.
Re-Lay (or Partial Re-Lay) When…
- More than a handful of pavers rock underfoot, especially in a straight line or a low spot.
- The edge restraint has loosened and pavers are spreading outward.
- Water pools in a low spot after rain and drains slowly.
- Efflorescence keeps returning on the same area even after cleaning and sealing.
- You can see settlement across the whole field – the pavers look rippled rather than flat.
- The driveway has visible humps or dips that weren’t there five years ago.
Re-sanding delays base failure by masking the water path. It looks like maintenance is working until the next wet season, when the same joints open up again. A full re-lay of the affected area handles the base properly – pull pavers, compact the subgrade, rebuild the base layer, re-set, re-sand, re-seal – and buys you another full maintenance cycle.
Partial re-lays are often the right compromise. A 10-by-10-foot section at the low corner of a driveway is a manageable project; a whole 1,200-square-foot driveway is a bigger decision. The written estimate should tell you which one you need and why. Our driveway & pavers team can look at the driveway and give you a straight answer on which repair makes sense, and our fence, drainage, and hardscape work is often specified in the same phase for exterior projects.
Cleaning and Sealing Without Damaging the Pavers
Cleaning and sealing is where most homeowner damage happens, not from neglect. High-pressure washing strips the protective surface finish and dislodges joint sand on the same pass. Here’s how to clean and seal without causing problems you’ll pay to fix later.
Cleaning
- Use pressure under 1,500 psi, with a wide-fan tip (25 degrees or wider). Never use a turbo nozzle or a 0-degree tip on a paver surface – it will carve lines in minutes.
- Sweep dry first, then apply a paver-safe cleaner (a pH-neutral or specifically paver-rated cleaner) and let it dwell per label. Never use muriatic acid on concrete pavers – it attacks the cement binder and shortens the life of the surface.
- Rinse from top to bottom. Work down the slope so you’re not pushing dirty water back into joints you just cleaned.
- Spot-treat mildew and algae with an oxygenated cleaner rather than chlorine bleach, which can stain the pavers over time.
- Rinse again and let dry 48 hours before any sealer goes down.
Sealing
- Choose a penetrating sealer over a film-forming sealer for Cutler Bay conditions. Penetrating sealers let the paver breathe, which matters when the base pulls moisture up from the water table. Film-formers look glossy for two seasons, then peel and look worse than no sealer at all.
- Seal in the dry season – January through May. Sealing during the rainy months traps moisture and permanently mottles the color.
- Apply with a sprayer or roller, not a pressure sprayer at full blast. Two thin coats with a 30-minute flash-off between them beats one heavy coat every time.
- Stay off the driveway for the full cure window – usually 24 hours, longer for some products.
- Plan to reseal every 2 to 3 years with a penetrating sealer. UV degrades the sealer gradually; you’ll see water starting to soak in rather than bead up as the signal that it’s time to reseal.
Drainage, Water Table, and Why Slope Matters More Here
Cutler Bay’s high water table means a driveway’s slope isn’t a design nicety – it’s functional drainage. A paver driveway should carry water off the surface and away from the foundation. When the slope is too shallow, water sits on the surface and reaches the base. When the slope is too steep, water moves so fast it scours the joint sand out of the pavers on its way. The right range is roughly a 1 to 2 percent slope (about a quarter-inch per foot) away from the house.
Signs your slope has moved out of spec:
- Water pools anywhere on the driveway for more than a minute after rain.
- The joint sand washes out disproportionately in one area.
- Standing water reaches the foundation or the garage slab during heavy storms.
- You can see a visible dip in the paver face with a straight edge.
The fix for a shallow slope is usually a targeted re-lay of the affected section plus the base compaction underneath. The fix for a steep or scoured slope is usually edge restraints and joint sand maintenance – not a redesign. Diagnose which problem you have before you spend money on surface repairs.
If the driveway drains toward the house or toward a fence line, that’s a bigger question than a paver repair. That’s where a driveway and fence installation scope interacts – a fence rebuilt at the same time as a driveway re-lay lets you reset both edges with a single crew and a single line item on the estimate. And if the driveway settlement is part of a larger hardscape problem around a home addition or an ADU, we handle the whole perimeter in a single scope through our home additions & ADU work.
Common Mistakes to Avoid
- Re-sanding a driveway with a failed base. The fresh sand looks great for a season, then opens right back up, and you’ve spent money that should have gone toward the actual repair. Run the Rocker Test and the Edge Test before you buy a bag of polymeric sand.
- Sealing in the rainy season. A June-through-November sealer application locks moisture into the pavers and mottles the color permanently. In Cutler Bay, sealing belongs strictly in the dry-season window.
- Using a high-pressure turbo nozzle on pavers. It strips the surface finish and scours the joint sand in the same pass, and the damage is impossible to reverse without replacing the affected pavers.
- Assuming a stubborn low spot is just “settling.” A dip in a Cutler Bay driveway usually means the base has softened and migrated. Ignoring it lets water pool – which softens the base faster – and the dip deepens each rainy season.
- Forgetting the edge restraints. The hidden edge is the first thing to fail in this climate. If you’re checking joints but not edges, you’re missing the earliest warning sign that most homeowners catch late.
- Choosing a film-forming sealer for the gloss. It looks great for a year, then peels and looks worse than a driveway that was never sealed. Penetrating sealers are the right choice for a high-water-table climate, even though the finish is less dramatic.
- Replacing one cracked paver without checking the neighbors. A crack almost always means the base under that paver has voided. Replace the paver without recompacting and the new one cracks within a few seasons.
See the difference
 Before
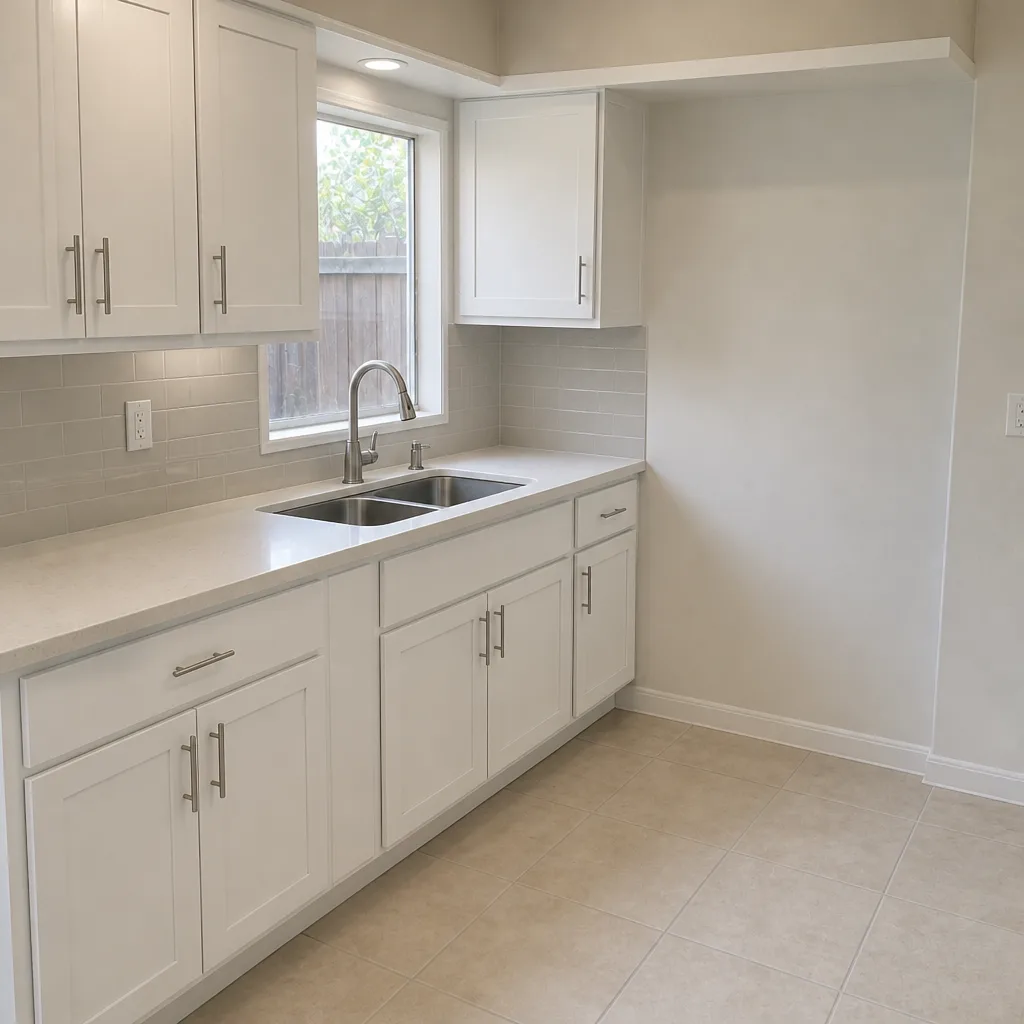 After
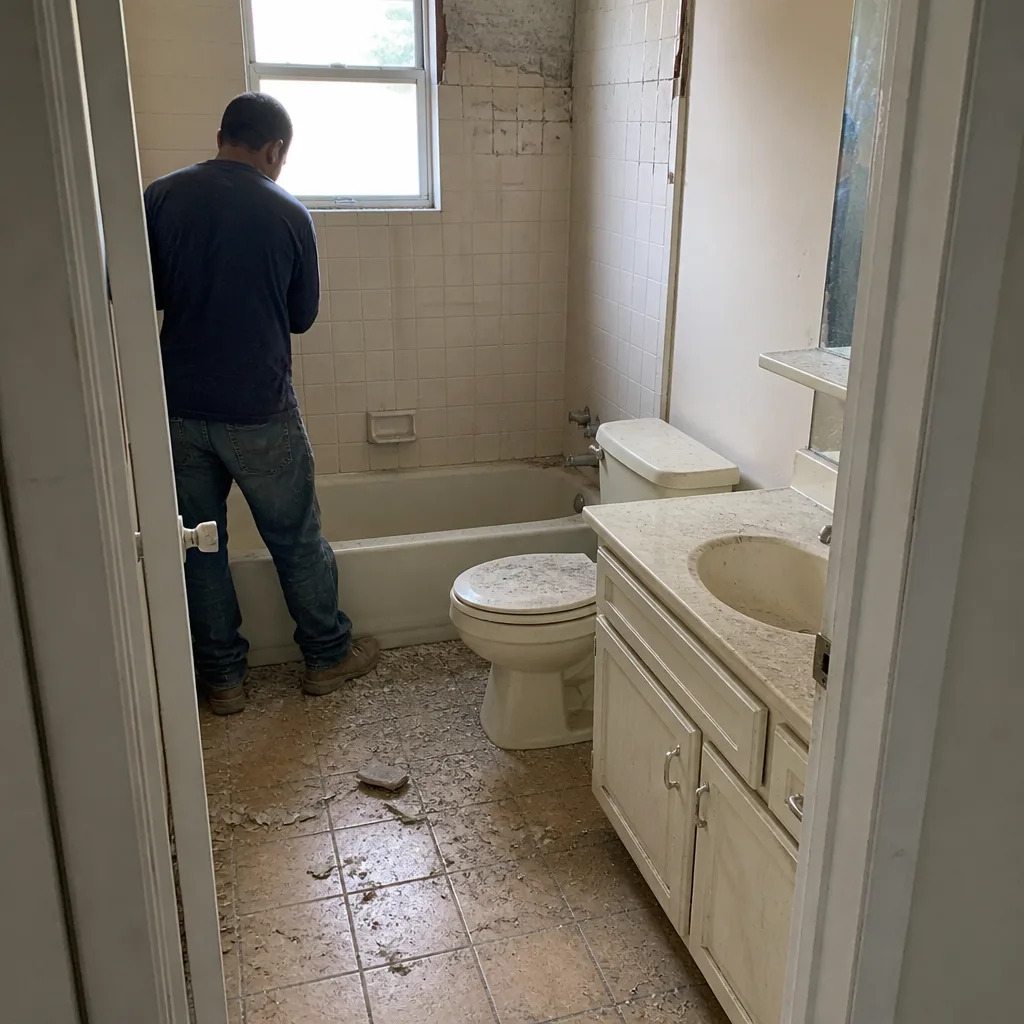 Before
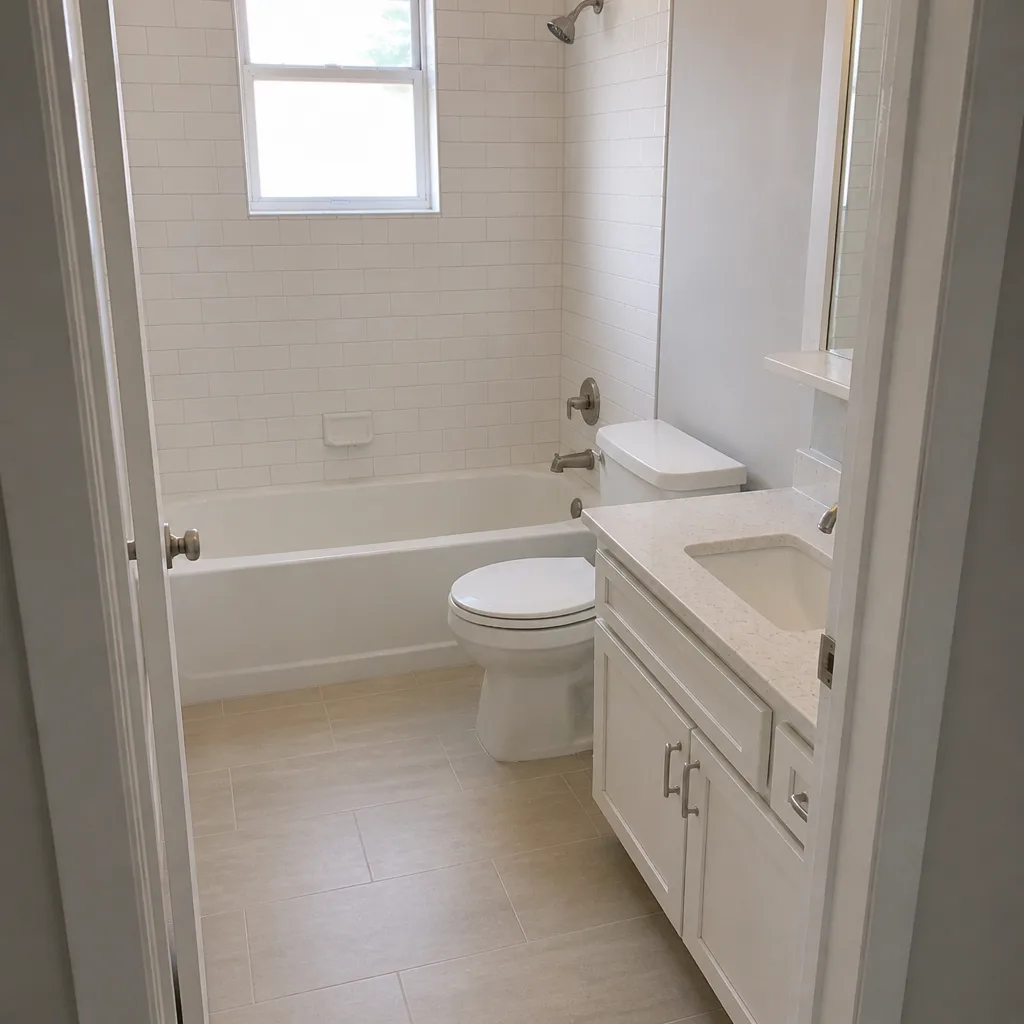 After
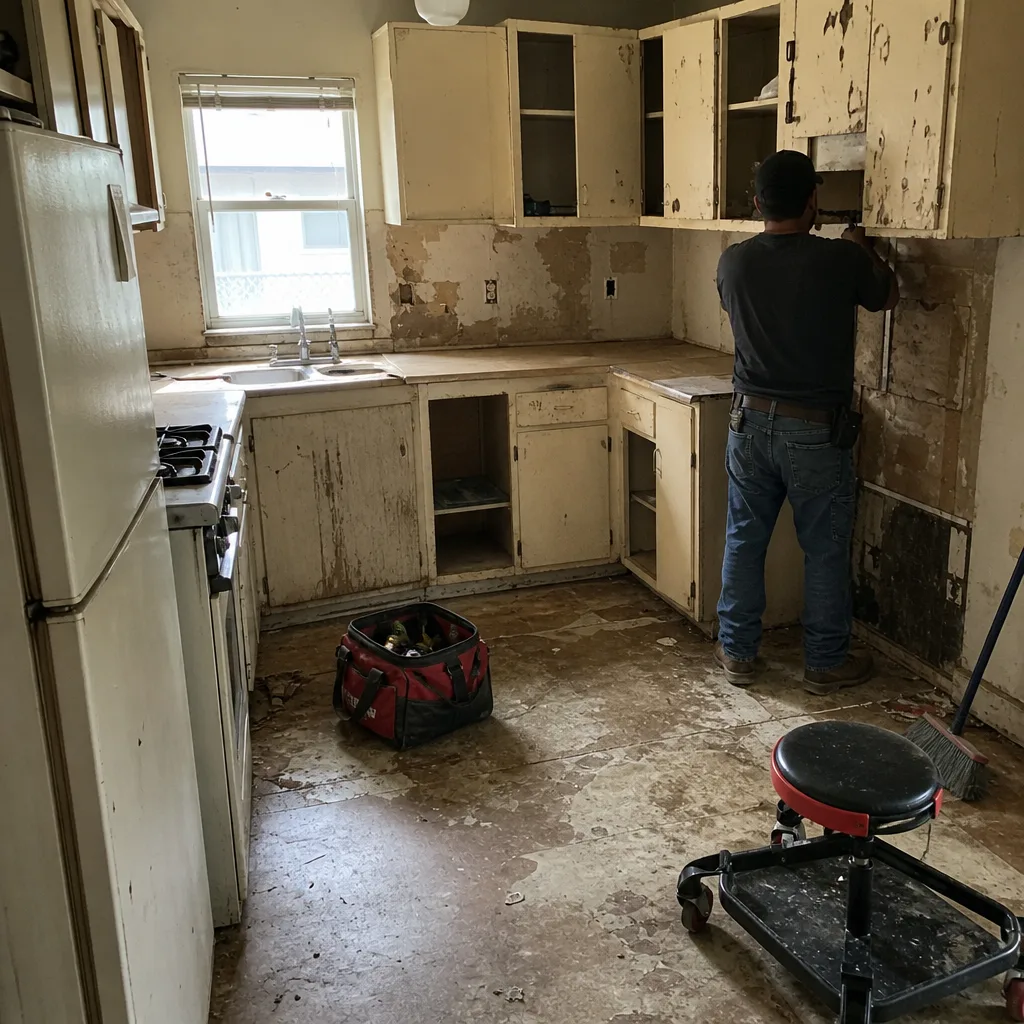 Before
 After
When to Call a Professional
Not every paver issue needs a crew. Loose joint sand, a few settling pavers at the edge, and normal cleaning and sealing are doable yourself with the checklist above. The line is the base. Call a professional when pavers rock underfoot, when water pools in the same low spot after every rain, when the edge restraint has loosened, or when efflorescence keeps returning after cleaning and sealing. Those are base failures, and they need the pavers pulled and the base layer recompacted. Our technicians have up to 15 years of experience with base assessment and repair in this climate. Construction Cutler Bay offers free estimates in Cutler Bay – call (833) 630-5172. We’ll walk the driveway with you, tell you which repair makes sense, and put the scope in a written line-item quote so there are no surprises when the work starts.
Frequently Asked Questions
Every two to three years with a penetrating sealer. Sealing works best during the dry months, roughly January through May, when pavers fully dry before sealer application and cure hard before the rains return. If you seal during the rainy season, moisture gets trapped and permanent color mottling is common. For an exact recommendation tailored to your driveway’s age and condition, call (833) 630-5172 – the estimate is free.
The compacted base beneath the pavers has settled or softened, leaving a void where each paver sits. The surface stays visually intact because the pavers are still flush with each other, but underfoot they move. This is the most common base failure we see in Cutler Bay, and it doesn’t go away with re-sanding – it needs a base repair. Call (833) 630-5172 for an assessment.
Most minor paver repairs don’t require a permit, but full replacements or changes to the driveway apron, drainage grade, or footprint usually do. Always confirm with the town’s building department before work starts – they’ll tell you the exact scope and any inspection requirements. Call (833) 630-5172 to schedule a free site assessment – we pull the permits as part of the scope when they’re required.
Walk the driveway barefoot. Joint sand failure shows only as low or missing sand in the joints, with pavers sitting flat and solid. Base failure shows as pavers that rock, a low spot that holds water, or an edge restraint that’s loosened and is letting pavers spread outward. If you can’t tell from walking it, call (833) 630-5172 – the estimate is free and it settles the question.
With a properly built base, correct joint sand, and maintenance on the schedule above, a well-installed concrete or clay paver driveway can last decades. The base is the limiting factor – the pavers themselves outlast almost every base if installed correctly. Cutler Bay’s water table is the main risk to the base, and resealing every two to three years plus joint sand top-ups is what keeps it stable. Call (833) 630-5172 for a site-specific estimate.
Yes, but only at low pressure – under 1,500 psi – with a wide-fan tip. A turbo nozzle or high-pressure wand strips the surface finish and dislodges joint sand, so what you think is cleaning is actually damage that will need re-sanding or replacing pavers to fix. When in doubt, call (833) 630-5172 and ask what your specific paver type can handle – the estimate is free.
The Bottom Line
Paver maintenance in Cutler Bay is about the base, not the surface. The checklist that works here has three anchors: inspect on the wet-dry calendar, diagnose with the Rocker and Edge Tests before spending, and seal only during the dry months. Polymeric sand failure and base failure look similar from standing height but need completely different repairs, and getting that call wrong costs you a full replacement cycle. If the pavers rock, don’t reach for a bag of sand – reach for a professional who can read the base. When you’re ready to build the next phase of the exterior – a driveway re-lay, a matching fence, or a full hardscape reset – we can carry the whole scope as one project with a single written estimate. Call (833) 630-5172. We answer 24/7. Fast dispatch from 7am to 7pm, Sunday through Friday.
Written by the team at Construction Cutler Bay.