Last updated November 17, 2026



Free written scope consultation - allowances, timeline, and change-order rules on paper before a single trade is scheduled
Driveway & Pavers Troubleshooting in Cutler Bay: Common Problems and How to Fix Them
If a paver contractor quotes you a repair without getting on their knees and probing the base, they’re guessing, and you’re funding their guess. Here’s the uncomfortable truth about paver problems in Cutler Bay: the paver itself is almost never the failure. Sinking, joint sand loss, white crusting, edge creep, and rutted driveways are all symptoms of what’s happening six inches below the surface, and two problems that look identical from your car window can require completely different fixes. This guide walks through each common problem, how to diagnose the real cause, and when a partial repair beats re-doing the base. We’ll cover drainage failures, compaction failures, and root intrusion, the three culprits behind most surface symptoms.
Quick Answer
Most driveway paver problems in Cutler Bay trace back to one of three root causes: a drainage failure that lets water pool under the base, poor base compaction that lets pavers settle unevenly, or tree root intrusion pushing the surface up. The fix depends entirely on which one you have. Surface repairs like re-sanding and re-leveling work only when the base under the affected area is still sound; if the base has failed, patching the surface just delays the same repair a season or two. Diagnosing the base before approving any quote is what separates a lasting fix from paying twice.
Styles & brands we work with
- Kitchen remodeling
- Bathroom remodeling
- Home additions & ADU
- Roofing
- Windows & doors
- Driveway & pavers
- Fence
Table of Contents
- Drainage Failure vs. Base Compaction Failure vs. Tree Root Intrusion: Telling Them Apart
- Why Joint Sand Disappears in Cutler Bay Rain and What Actually Holds
- Efflorescence on Travertine and Concrete Pavers
- The Edge Creep Diagnostic
- Partial Repair vs. Re-Doing the Base: The Five-Year Math
- Material Selection for Cutler Bay Driveways
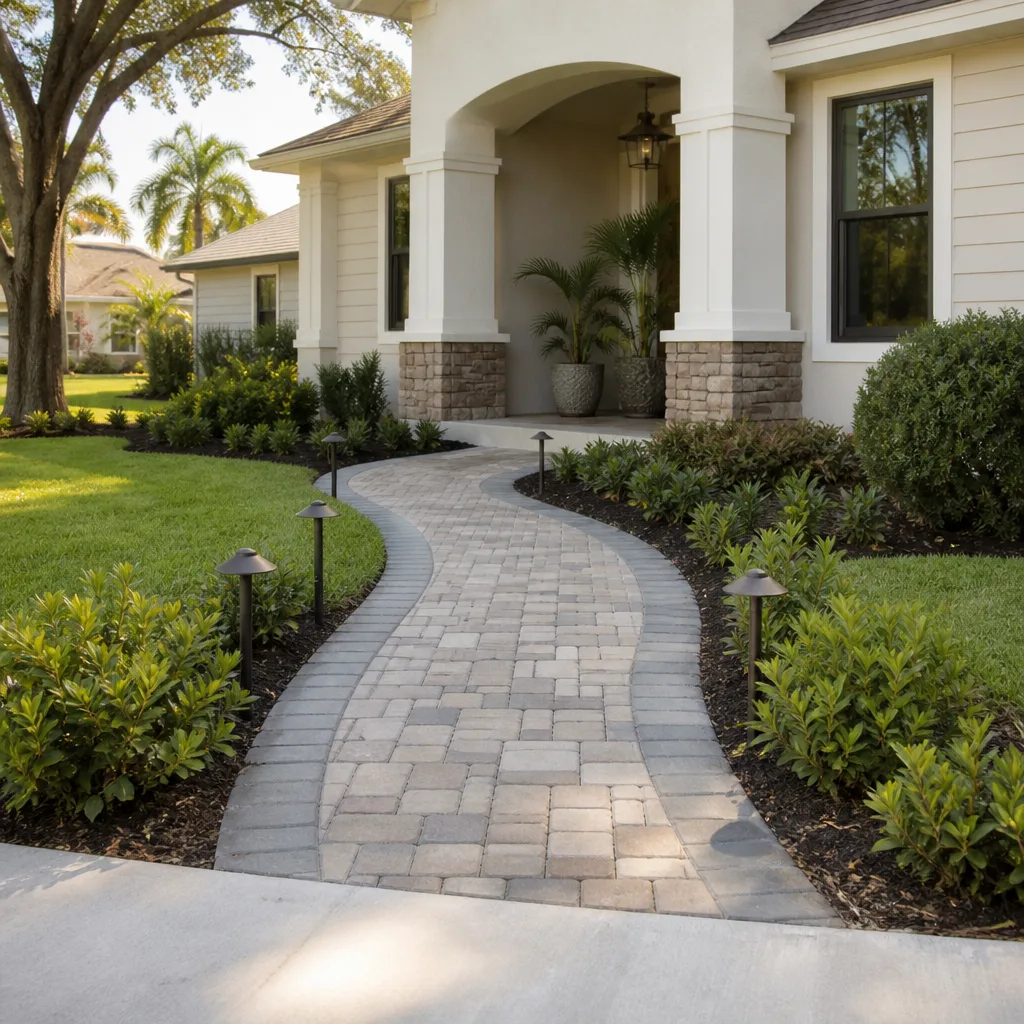
- What a Correct Installation Actually Looks Like
- A Realistic Maintenance Schedule
Drainage Failure vs. Base Compaction Failure vs. Tree Root Intrusion: Telling Them Apart
Three different problems can produce the same symptom: a dip in the driveway, a paver rocking underfoot, or a low spot that stays wet after rain. From behind the wheel they look identical. From a knee-level inspection, they’re completely different, and so are the fixes. Getting the diagnosis right is the single most important step in any paver repair.
Drainage failure shows up as a soft, spongy spot that stays wet for days after the rest of the driveway has dried. Water is pooling under the pavers instead of running off. The base material under the affected area may be washed out entirely, and you’ll often see a fine sandy residue at joints near the low spot. The fix is re-grading and re-establishing the slope so water drains to the street or a designed drain, plus rebuilding the base in the affected area.
Base compaction failure usually appears as broad, gradual settling across a large area rather than a localized dip. The pavers themselves stay intact, but the whole field sinks unevenly. This happens when the aggregate base was laid too thin or compacted in lifts that were too thick. The fix is lifting the field, adding and properly compacting base material, then re-setting the pavers.
Tree root intrusion is the odd one out. Instead of a dip, you get a rise, heave, or actual cracking of pavers directly in line with a mature tree. The pavement looks like it’s being pushed up from below, because it is. The fix ranges from root barriers and re-laying affected pavers to reconfiguring the driveway footprint if the tree is close enough to keep causing problems.
In our experience across Cutler Bay, drainage failures are the most common of the three, which confirms what every homeowner here already knows: in this climate, water management is the whole ballgame. Our technicians have up to 15 years of experience with paver installation and repair, and we’ve seen firsthand that a driveway that drains correctly almost never develops the other two problems.
Why Joint Sand Disappears in Cutler Bay Rain and What Actually Holds
If your joint sand has vanished after a few months, the problem is usually the sand, not the weather. Standard washed sand, the kind that still shows up in cheap estimates, washes out in high-rainfall zones within a season. Polymeric sand, when specified and installed correctly, is the product that actually holds in South Florida. But “polymeric sand” on a quote is not enough on its own, because the product varies enormously in quality and the installation matters as much as the bag.
Here’s what makes a polymeric sand specification hold up in this climate:
- Correct fill depth: Joints should be filled to about an eighth-inch below the paver chamfer, not flush with the top. Flush fill gets scuffed away by traffic and rain splash.
- Full joint flush, not partial: Sand needs to fill the entire joint depth. Sand that only fills the top half will break loose on the first hard rain.
- Proper activation: Polymeric sand has to be activated with a controlled mist and left to cure without further water. Over-watering during activation is the single biggest cause of premature failure.
- Realistic cure time: Most polymeric sands need a dry period to set fully. A Cutler Bay afternoon storm that hits an hour after activation will compromise the joint. Installation timing is part of the specification, not an afterthought.
Marketing claims about “lifetime” joint sand performance should be treated with skepticism. What actually matters is whether the sand is rated for heavy rainfall, whether the joints are deep enough to hold it, and whether the installer respects the cure time. If you’re comparing quotes in Cutler Bay and one contractor mentions “polymeric sand” without discussing joint depth or cure timing, that’s a sign the spec is thin.
Efflorescence on Travertine and Concrete Pavers
Efflorescence is that white, chalky crusting that shows up on pavers after rain or in humid stretches. It’s mineral salts migrating to the surface as water moves through the paver. On its own, efflorescence is cosmetic and easy to treat. But on travertine and concrete pavers in Cutler Bay’s humid climate, efflorescence can also be a signal that water is entering from below, and that’s the distinction worth catching.
How to tell the two apart:
- Cosmetic efflorescence appears as a thin, even white film, usually after wet weather, and reappears after a dry spell when moisture is drawn back up. It brushes off partially. It’s a sign of a permeable paver plus seasonal humidity, not a base failure.
- Efflorescence with moisture intrusion is heavy, patchy, often concentrated in a low spot or near the driveway edge, and it comes back quickly even after cleaning. That pattern usually means the drainage slope is off and water is traveling through the base.
Treatment for cosmetic efflorescence is straightforward: a proprietary paver cleaner, not a pressure washer at full blast. Blasting pavers to remove efflorescence drives more water into the joints and makes the problem worse. A weak acid solution, applied to a wet surface and rinsed carefully, is the standard approach for concrete pavers; travertine is more sensitive and needs a gentler, material-specific cleaner.
If efflorescence keeps coming back in the same spot, that’s your flag to have the drainage checked before you re-treat the surface. In our experience in Cutler Bay, we’ve seen pavers cleaned every spring for efflorescence that was actually a drainage problem nobody diagnosed. Here’s the general guidance: cosmetic, treat it. Persistent in one spot, investigate the base.
The Edge Creep Diagnostic
Edge creep is when the outer row of driveway pavers, the border or soldier course, starts shifting outward, spreading at the joints, or sinking. It’s one of the most common paver problems and one of the most misdiagnosed, because three different causes present almost identically. Getting this diagnostic right saves homeowners from paying for the wrong fix, and it’s why our driveway & pavers work always starts with a base check at the perimeter.
The three causes of edge creep:
- Vehicle overhang: If cars park with tires routinely rolling onto or past the edge of the driveway, the border pavers take lateral load they weren’t designed for and start spreading. The tell is a spread that matches where cars stop, usually on the same side every time. The fix is re-setting the border and adding restraint.
- Missing or failed edge restraint: A driveway edge needs a physical restraint, typically a concrete curb or spiked plastic edge, that holds the field in place. When the restraint is undersized, installed too shallow, or absent, the edge moves outward over time. The fix is installing proper edge restraint and re-setting the border course.
- Subsurface washout: Water running around the edge of the driveway can erode the base and leave the border unsupported. The pavers sink and spread, and the spread is usually combined with a visible dip. This fix requires rebuilding the base at the edge, not just re-setting pavers.
To tell these apart yourself, look at the pattern and probe the base. If the spread tracks with where cars park, suspect vehicle overhang. If the border moves uniformly outward but the base feels solid, suspect missing restraint. If the base is soft or eroded near the edge, suspect washout. Soft base is the most serious of the three, because new edge restraint on a failed base will just move again within a season.
Partial Repair vs. Re-Doing the Base: The Five-Year Math
This is the decision that determines whether you spend once or twice. A partial repair, re-setting a section of pavers, re-sanding, and re-grading locally, is the correct call when the base under the repair area is still sound and the problem is isolated. Re-doing the base across the whole driveway is the correct call when the base has failed broadly, when the drainage slope is wrong, or when subsidence has spread across more than one zone. The math homeowners in Cutler Bay should run before approving a quote is this: what is the cost of the partial repair, and how long before the same problem returns if the base isn’t fixed?
Run a rough five-year accounting:
- Partial repair on a sound base: One lower-cost intervention, and if the base was genuinely sound, it holds. Best outcome in every scenario.
- Partial repair on a failed base: Lower cost up front, then the same problem returns within a season or two, then a second partial repair, and eventually the full base re-do anyway. You’ve now paid for the partial repair twice on top of the full repair.
- Full base re-do from the start: Higher cost up front, but one intervention and it’s done. On a genuinely failed base, this is the cheaper path over five years almost every time.
The correct way to run this math is to insist on a quote that separates diagnosis from repair. Ask the contractor to state, in writing, what they found at the base, how deep the problem goes, and what the repair scope is. A written estimate that specifies the base diagnosis, the repair scope, and a material list is what lets you compare a partial and full repair fairly. That’s the same standard we hold estimates to, and it’s how a homeowner in Cutler Bay can avoid paying a full base re-do price for a partial repair, or vice versa.
Material Selection for Cutler Bay Driveways
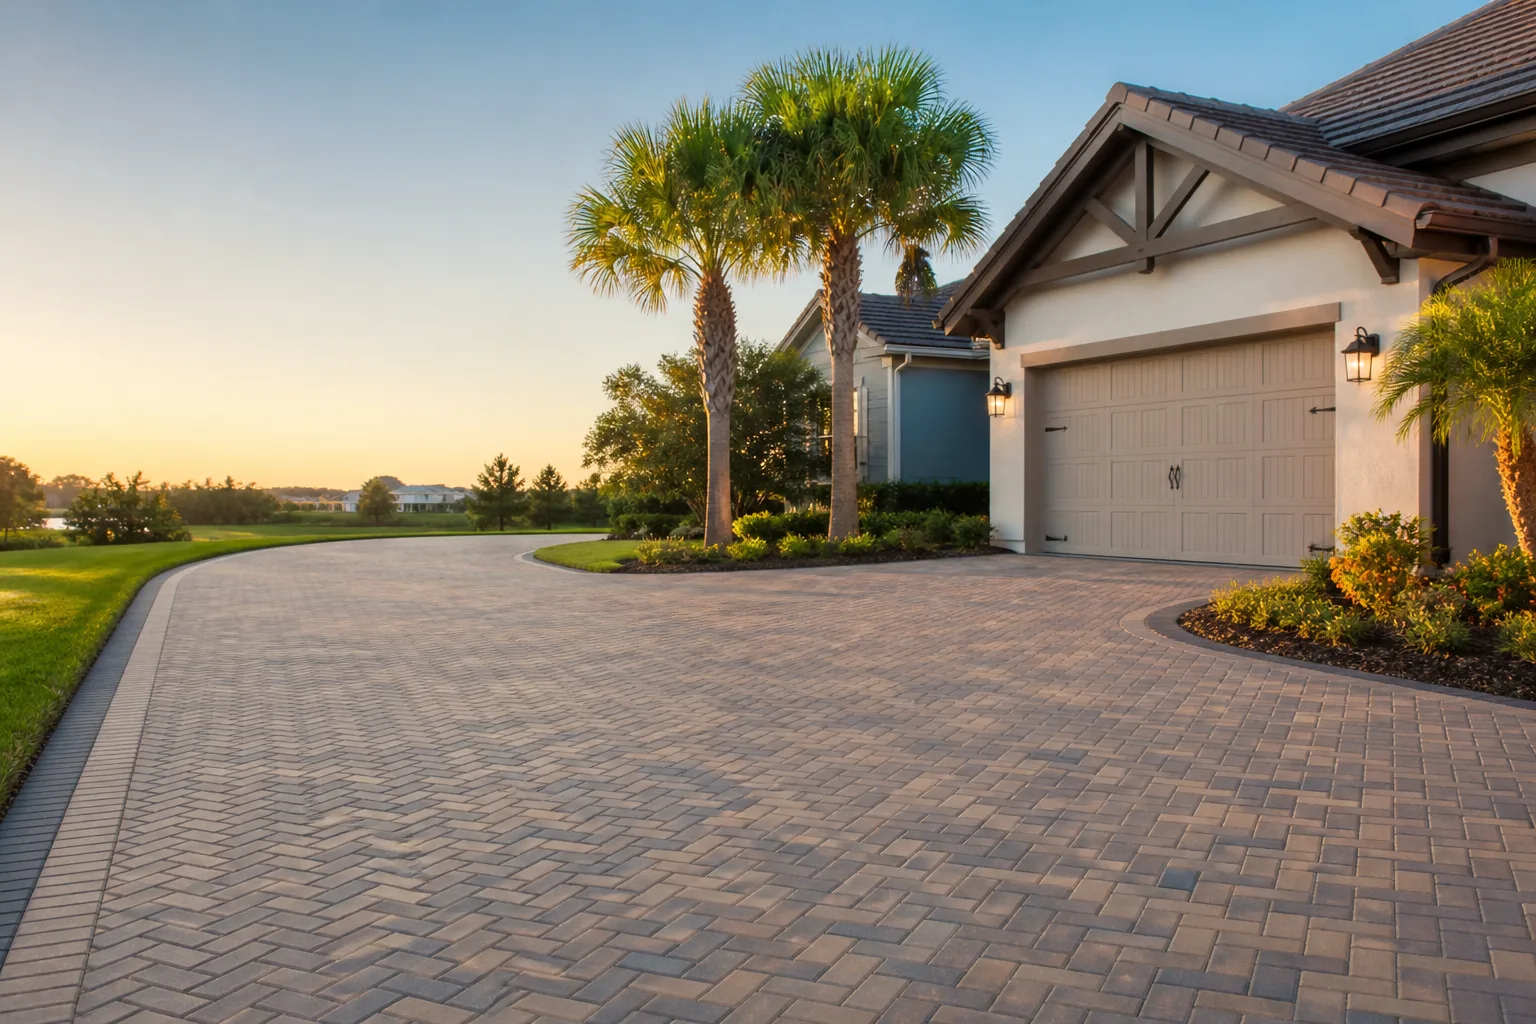
The paver you choose determines how the driveway looks and how well it ages, but the base and installation determine how it holds. Still, material matters, and matching the paver to the climate is part of getting it right. For Cutler Bay driveways, the materials we specify most often come from Belgard and Tremron, with Techo-Bloc as a strong option when the design calls for a more architectural look.
What to look for in a Cutler Bay paver:
- Compressive strength: Residential driveways need pavers rated for vehicular load. That generally rules out the thinner pedestrian-grade pavers used for patios.
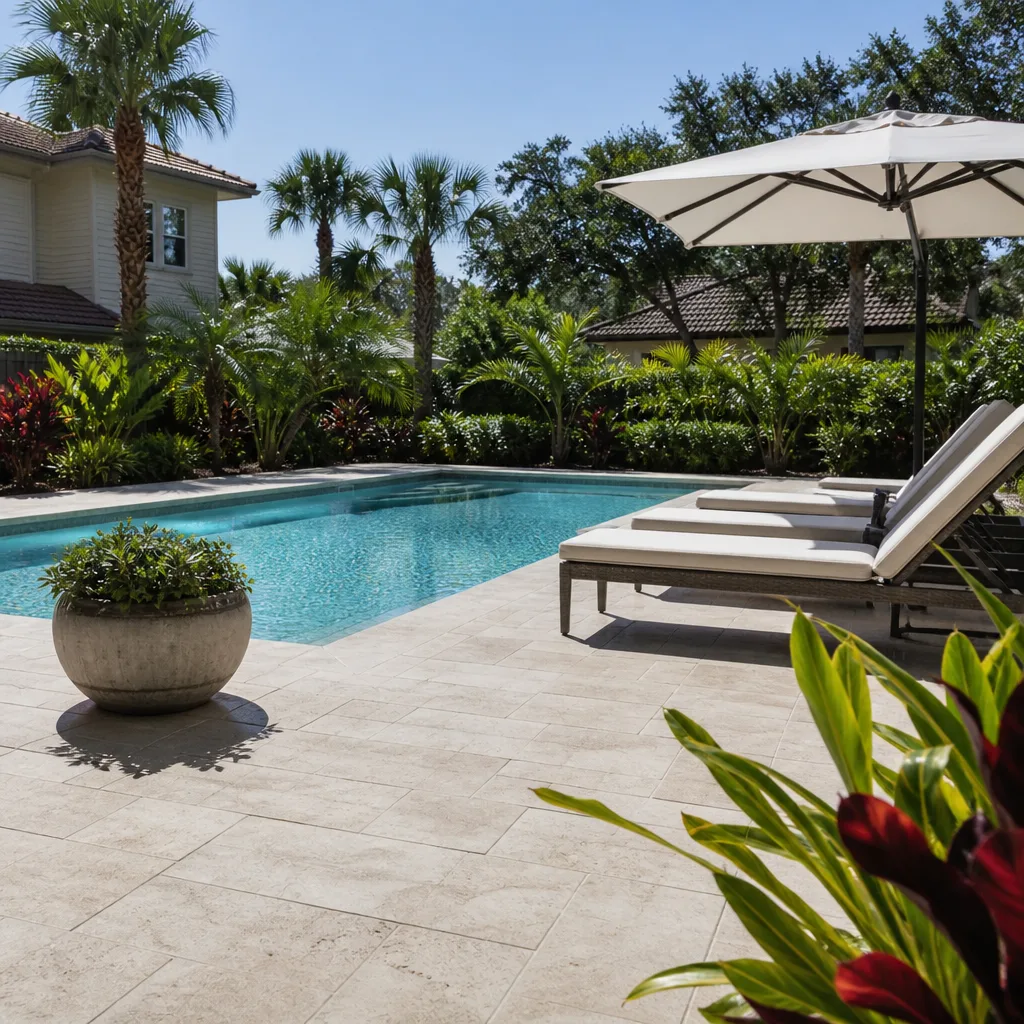
- Water absorption: Lower absorption is friendlier to the humid climate. Dense concrete pavers and travertine both perform well; the tradeoff is travertine needs more careful sealing.
- Frost rating: Not a concern here, but product literature will still list it. Don’t let a sales angle built on cold-climate performance sell you a paver that’s undersized for driveway duty.
- Color and finish: Salt-and-pepper blends hide tire dust and organic staining better than solid light colors. In a rainy climate, that matters for how the driveway looks between cleanings.
The pavers we install are from an authorized manufacturer network that includes Belgard, Techo-Blok, and Tremron, so material selection is a specification discussion, not a guess. That’s the difference between a driveway that matches the house in Cutler Bay and one that just fills the front yard.
What a Correct Installation Actually Looks Like
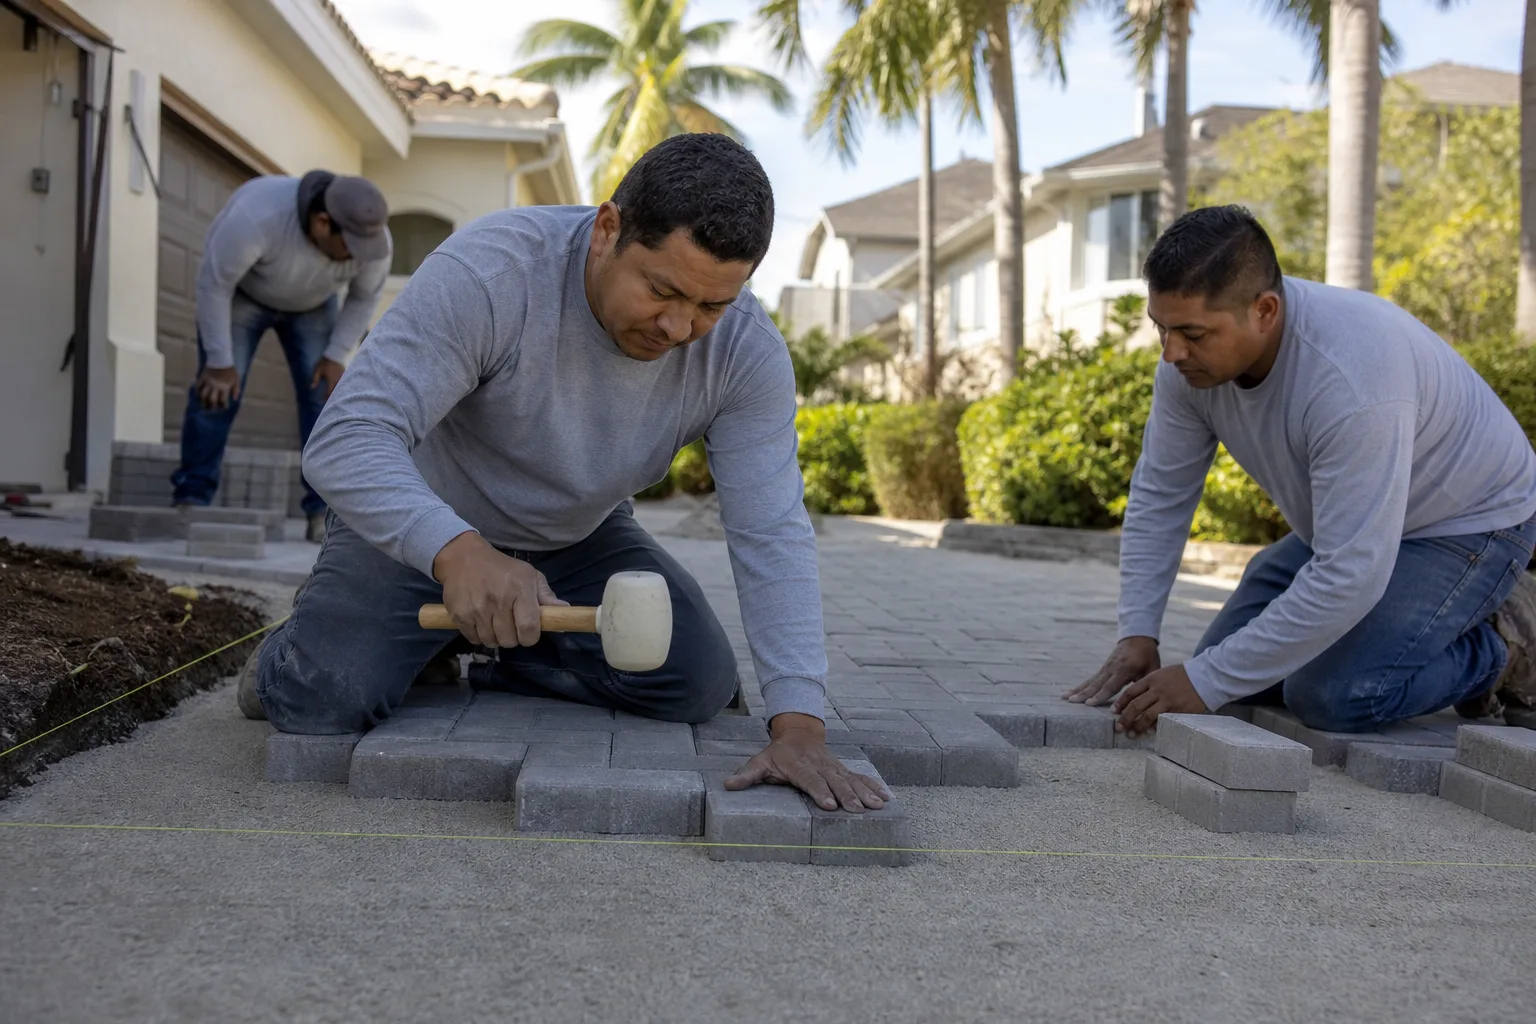
Since every common paver problem traces back to something that was or wasn’t done during installation, it’s worth knowing what correct looks like. Not so you can install pavers yourself, since this is genuinely heavy work with real injury risk from lifting paver pallets, handling compaction equipment, and cutting stone, but so you can read a quote and know what’s being promised.
- Excavation to spec: The base depth needs to match the anticipated load and the soil. Skimping on excavation depth is the root cause of most long-term settling.
- Base material and compaction: Compacted aggregate, laid in lifts instead of one thick pass, so each lift is properly densified. A base that isn’t compacted in lifts will settle under traffic regardless of how good the pavers are.
- Slope and drainage: The driveway needs a consistent slope toward the street, a designed swale, or a drain. Water pooling on a paver driveway finds the joints and the base, and the base is what suffers.
- Edge restraint: Concrete curb or spiked plastic edge, installed to spec, on every exposed edge. This is the fix that prevents edge creep from happening in the first place.
- Sand setting bed: A proper screeded bed, not clumps of sand dumped under pavers. Uneven beds cause rocking.
- Joint sand and cure: Polymeric sand at correct depth, activated per manufacturer spec, left to cure without rain or traffic during the cure window.
When we take on a paver project in Cutler Bay, we build to that list because it’s what keeps a driveway from becoming a repair job. The written estimate should reflect all six steps, and if a quote is vague about the base depth or the compaction method, that’s the moment to ask.
A Realistic Maintenance Schedule
A paver driveway isn’t a set-it-and-forget-it surface, but the maintenance isn’t heavy if you know what to check and when. Here’s a realistic schedule that works in Cutler Bay’s heavy summer rain season.
- After each rainy season: Walk the driveway and look for new dips. A dip that appears or deepens after heavy rain is the first sign of drainage or base trouble.
- Twice a year: Check the joint sand level. If sand is more than an eighth-inch below the chamfer in more than a few spots, plan a re-sand with polymeric sand before the next rainy season.
- Once a year: Clean with a paver-specific cleaner and a light pressure wash. Skip the acid wash unless you’re treating efflorescence.
- Annually: Inspect the edge restraint. Look for movement at the border pavers and probe the base at the edge. A little looseness is worth addressing before it becomes edge creep.
- Whenever a spot stays wet after rain: That’s your cue to have the drainage checked. Wet spots that linger are the earliest, cheapest-to-fix sign of a drainage problem.
Maintenance doesn’t include trying to fix settlement yourself. Lifting pavers, adding base material, and re-compacting requires the right equipment and some genuine injury risk; it’s a job for experienced installers. The homeowner’s job is to notice the symptoms and diagnose the cause. The installer’s job is the repair.
Common Mistakes to Avoid
- Approving a repair without a base diagnosis. If a quote doesn’t say what was found under the pavers and how deep the problem goes, the repair is a guess.
- Using washed sand for joint fill. In Cutler Bay’s rain, standard sand washes out within a season. Specify polymeric sand with proper joint depth and cure time.
- Pressure-washing efflorescence back into the joints. Blasting efflorescence at high pressure drives water into the base and makes the problem worse. Use a material-specific cleaner.
- Ignoring edge restraint on a border that’s spreading. Re-setting pavers without installing or repairing edge restraint means they’ll spread again.
- Patching a broad settled area. If the settling is across a large field, not an isolated spot, lifting and re-building the base in that field is usually the only lasting fix.
- Comparing quotes only on total price. A quote that’s thousands cheaper often reflects a thinner base or missing edge restraint. Compare the base depth, compaction method, and edge spec, not just the bottom line.
- Discounting travertine’s maintenance needs. Travertine pavers look great in Cutler Bay, but they want careful cleaning and, ideally, sealing. Plan for that or specify a denser concrete paver.
See the difference
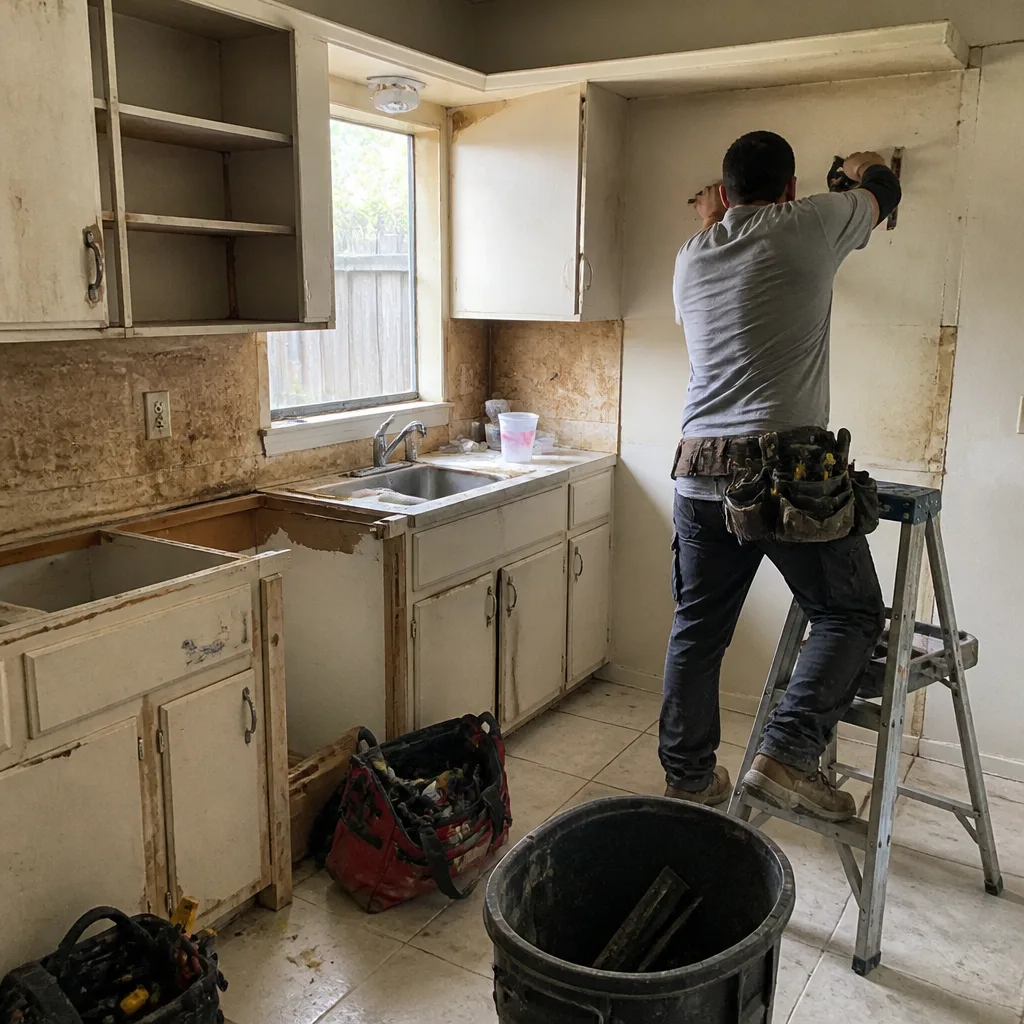 Before
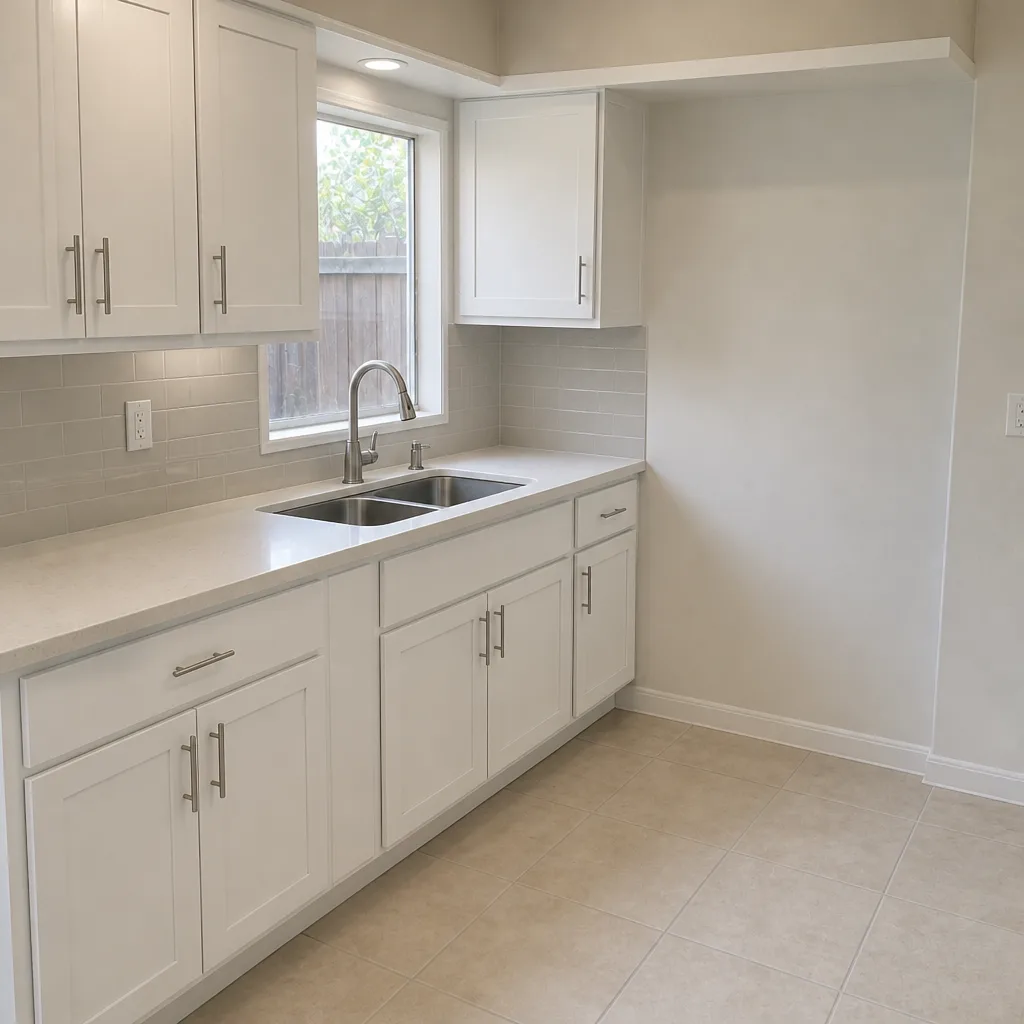 After
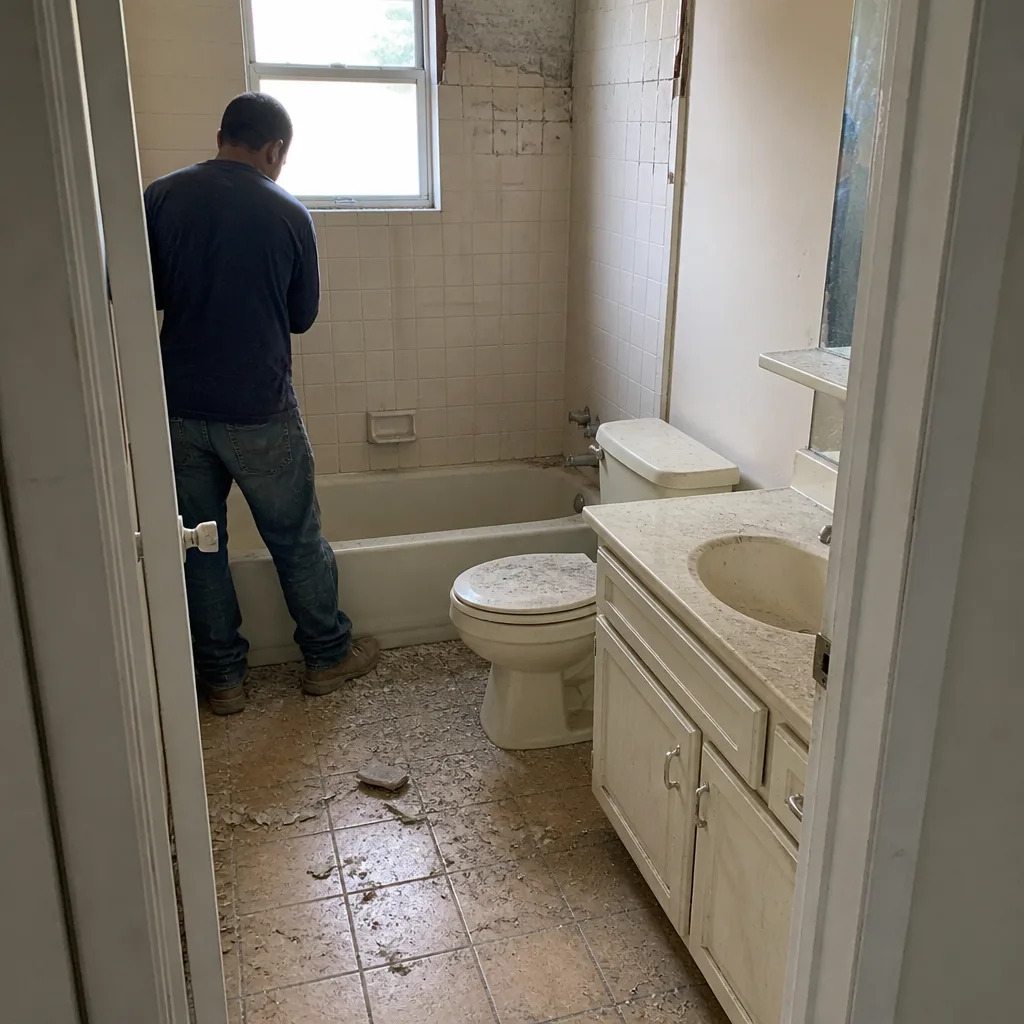 Before
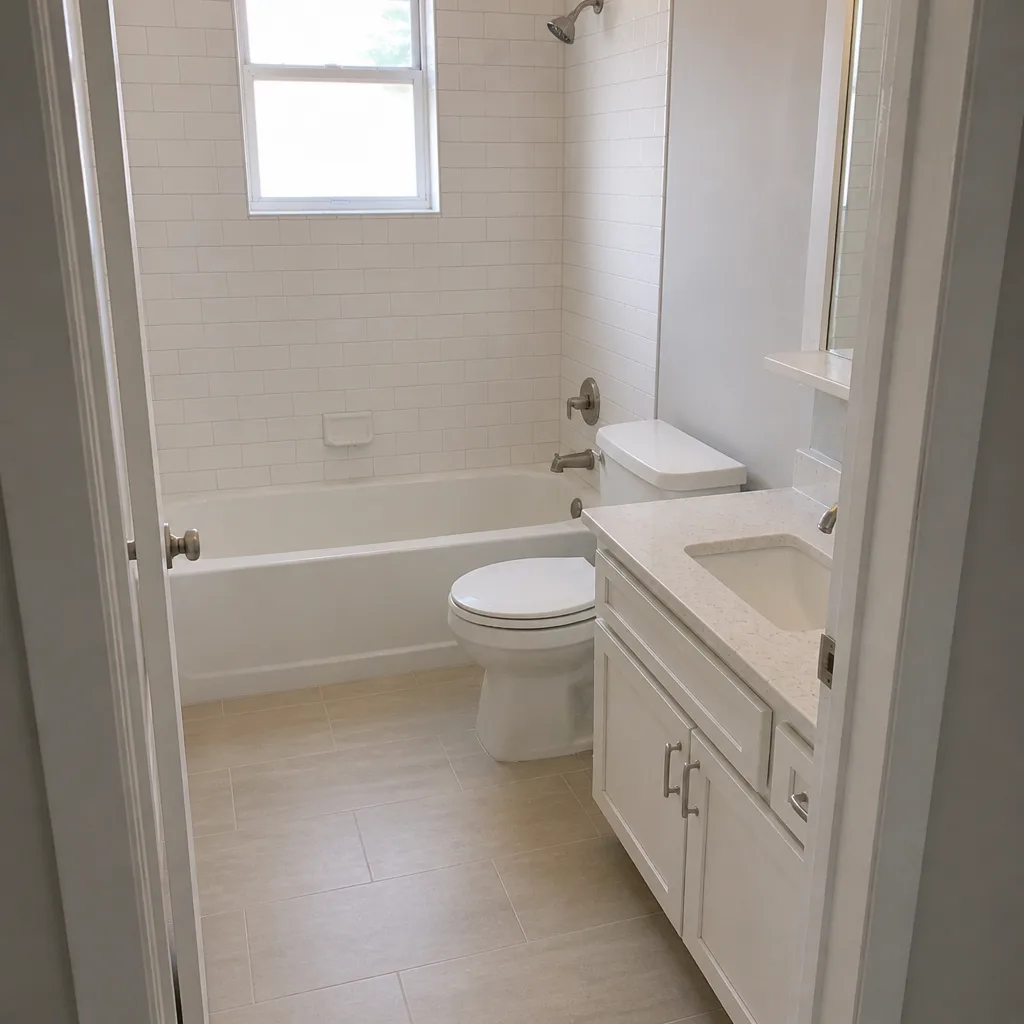 After
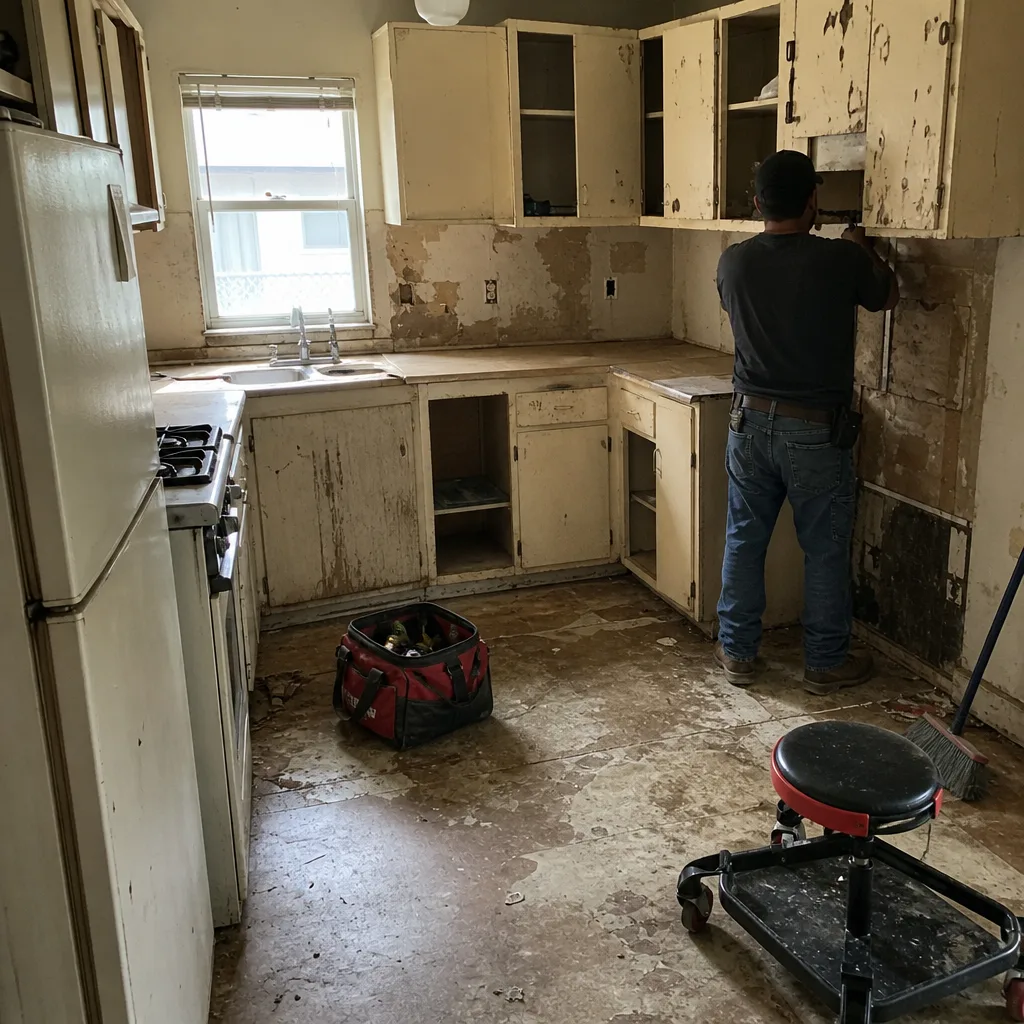 Before
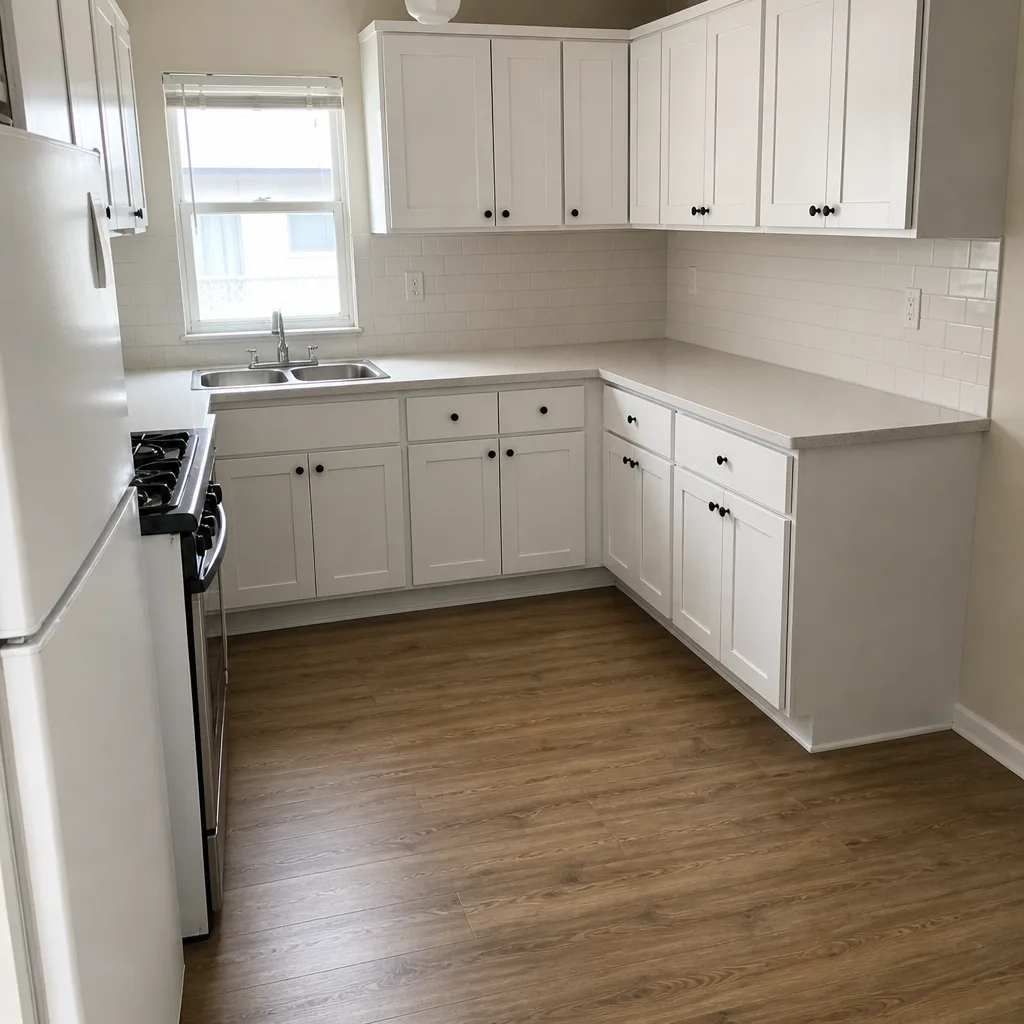 After
When to Call a Professional
You should call a professional when a symptom points to a base failure, when the perimeter is moving, or when the same spot needs attention more than once. Those three situations almost always mean the base needs real work, and they’re the cases where a homeowner with a pressure washer and a bag of sand will make a genuinely worse problem. We also recommend calling when the driveway is new enough that the install warranty still applies: let the installer correct the base, not a repair crew.
Construction Cutler Bay offers free estimates in Cutler Bay, and every estimate is written: base diagnosis, repair scope, materials from specified manufacturers, and a fixed price. Our team can also look at the wider perimeter, including fence installation, to catch the drainage and edge issues that start at the driveway-to-yard line. Call (833) 630-5172 to schedule your free estimate. We answer 24/7. Fast dispatch from 7am to 7pm, Sunday through Friday.
Frequently Asked Questions
There’s no single number that fits every repair, because the cost depends on whether the fix is a partial re-set, a joint sand replacement, a full base re-build in one area, or edge restraint work. The honest answer is that you’ll need a written estimate after a base diagnosis. Call (833) 630-5172 to schedule a free estimate; the written quote sets the price and is detailed line by line.
A localized dip almost always means one of three things: drainage failure under that spot, a thin or poorly compacted base in that area, or a tree root pushing the base down or up. The fix depends on which. Before approving a repair, get the contractor to probe the base at the dip and tell you what’s actually there. If they can’t, they’re guessing. Call (833) 630-5172 for a diagnosis and free estimate.
White crusting on pavers is efflorescence, mineral salt brought to the surface by moisture. On its own it’s cosmetic and treatable with a paver-specific cleaner. If it comes back quickly in the same spot after cleaning, it’s a sign of moisture intrusion from below, which usually means the drainage needs looking at. Call (833) 630-5172 for a diagnosis and free estimate.
A full base re-do is the right call when the base has failed broadly, when the drainage slope is wrong across the field, or when subsidence has spread across more than one area. A partial repair is right when the base under the affected area is sound and the problem is isolated. The five-year math almost always favors the full re-do on a failed base, because partial repair on a bad base brings the problem back. Call (833) 630-5172 for a written diagnosis and free estimate.
Sometimes. Re-setting a spreading border only works when the base under the border is still sound and the edge restraint is intact. If the base is eroded or the restraint is missing, the border will move again, so both need to be addressed. The correct approach is to probe the base first, then decide. Call (833) 630-5172 for a free estimate on border and edge restraint repair.
Most residential paving projects need some form of permit or inspection, usually tied to site drainage and stormwater requirements. The exact rule depends on the scope and your lot, so the right first call is your city’s building department. Construction Cutler Bay can tell you what the project scope is and how it will be built to spec, and you can confirm the permit question with the city before work begins. Call (833) 630-5172 for a free estimate and a written scope.
The Bottom Line
The pattern across every paver problem in Cutler Bay is the same: the paver is the symptom, and the base, drainage, or edge is the cause. Fix the cause, and the surface stays put. Patch the symptom, and you’ll pay twice. Get a written diagnosis that names the base condition, the drainage slope, and the edge restraint. Match your material to the climate, specify polymeric sand properly, and inspect your driveway after each rainy season. We install pavers from Belgard, Techo-Blok, and Tremron for exactly this reason: material sourcing is part of getting the base and the surface right. For a repair or a new driveway in Cutler Bay, or for the wider perimeter scope that often goes with it, from fence installation to the material selection for a home additions & ADU project, one contractor can carry the full project. See the full scope at Construction Cutler Bay.
Call (833) 630-5172 to schedule your free estimate. We answer 24/7. Fast dispatch from 7am to 7pm, Sunday through Friday. Written estimates, fixed price, no change orders, and a workmanship warranty on the installation.
Written by the team at Construction Cutler Bay.